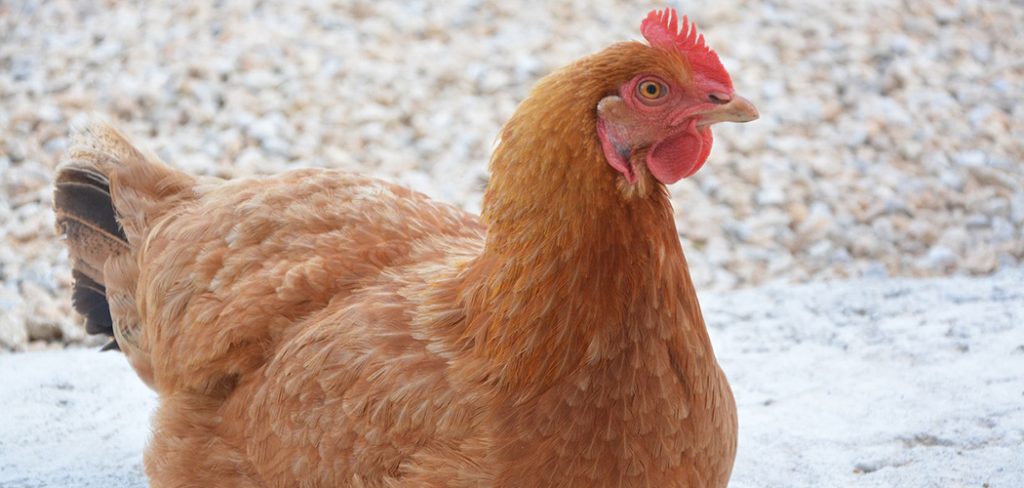
Proper housing is an essential requirement for every poultry farmer seeking to succeed. Poultry birds, especially chickens are generally housed in coops. No matter which egg-laying chicken breeds you plan to rear, a DIY chicken coop will always comes in handy.
What is a Chicken Coop?
Basically, a chicken coop is a house which offers chickens protection against harsh weather conditions and predators. Ideally, a good chicken coop must be: weather resistant, a safe haven for birds and above all, easy to assemble.
Contrary to popular opinion, you don’t need the help of a professional carpenter to construct your chicken coop. Provided you have an idea of what you want your coop to look like, building one is a fairly simple weekend project.
In this article, we’re going to walk you through step-by-step processes you can follow to construct your own chicken coop.
Steps to Follow When Constructing a Chicken Coop
1. Determine the size of the coop
The first thing to do when constructing a chicken coop is to determine how big it will be. Generally, one bird requires about 3-4 square feet of coop space. Hence, if you are planning to raise, say 10 birds, you will need a minimum of 40 square feet floor space.
Also, take into consideration the fact that you’re going to provide feeders, nesting boxes – where the hens will lay their eggs and water troughs. These are potential space-gobblers, hence should be factored in when choosing dimensions.
2. Pick a location for your coop
Now that you have an idea of how big your coop should be, the next thing to do is pick out a location where your coop will be constructed. When selecting a location, you need to consider:
- Direction of sunshine and shade: natural sunshine is good for chicken, but excessive amounts can be harmful.
- Smell and noise: to avoid disturbances due to the unsavoury smell of chicken poop and noise, locate your coop as far away from your house as possible. Ensure, however, that the coop is not too far away from your house. This is so you can be able to monitor the noise levels of your birds. Abnormal noises could be an indicator something is wrong.
- Ease of access: pick a location that you can easily access for construction of the coop.
3. Design the coop
Next on the list of to-dos is the part where you have to sketch the floor plan and a rough view of how your coop will look after construction.
Proper ventilation is essential for your birds to do well, hence, put in a lot of air space and windows. For ease of access, ensure there are enough doors too. It is advisable to elevate your coop a bit to guard against predators.
Also, make provisions for equipment needed for chicken production. These include: feeders, nest boxes, perches, poop boards, water troughs etc.
4. Construct the coop
This is the stage where you actually start building the coop. Ensure you have all your building materials on ground. These include wood planks, hammers, nails, handsaw, measuring tape and roofing sheets.
Ensure you follow the dimensions stipulated in the plan you have drawn. Cut the planks to size to make your work faster.
Dig your foundation, start constructing from there and gradually take it up. Tackle the roofing, windows and doors last. You don’t necessarily have to complete the work in a day, therefore, take it slow.
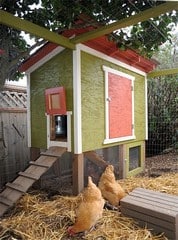
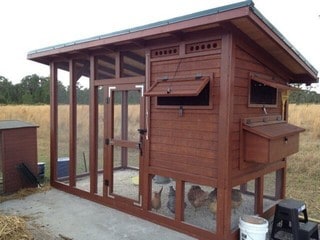
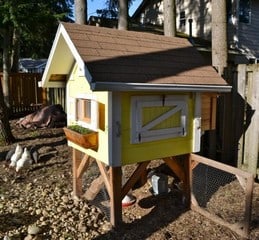
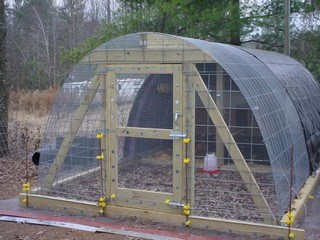
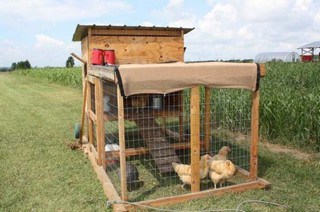
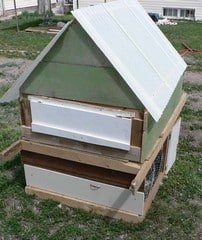
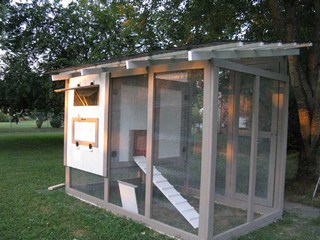
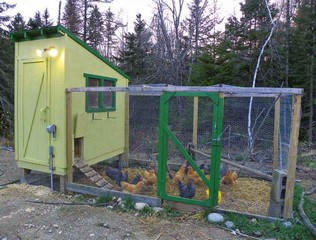
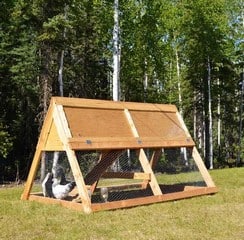
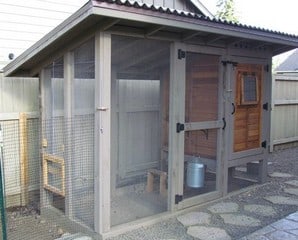
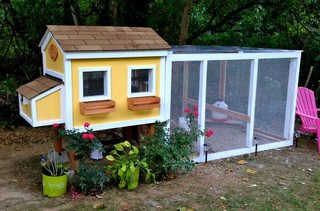
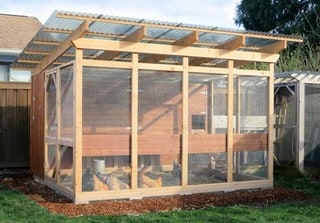
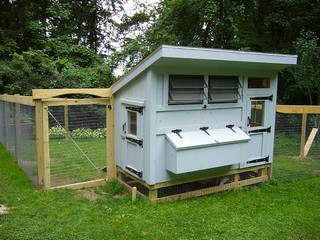
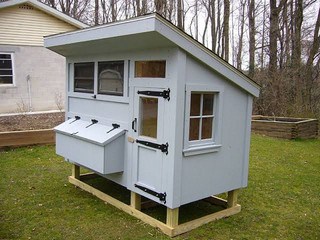
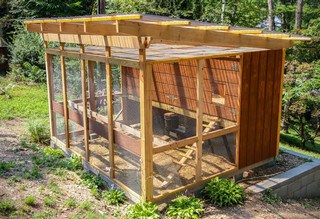
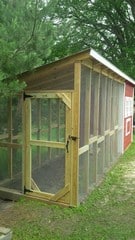
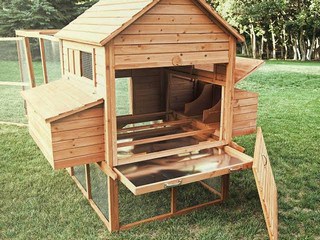
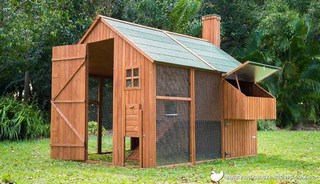
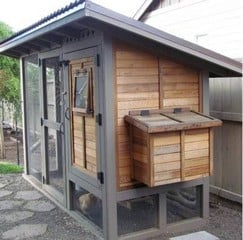
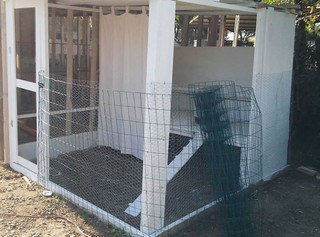
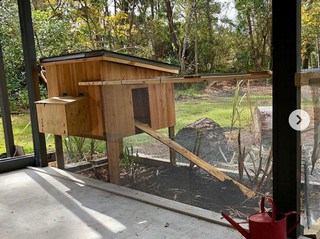
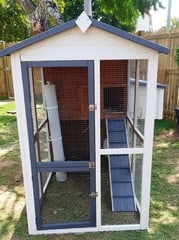
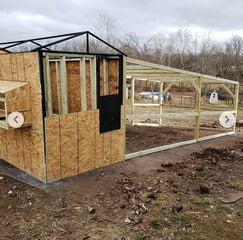
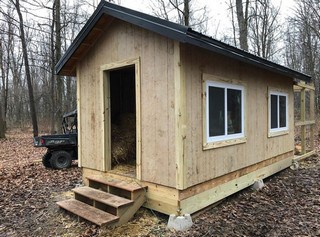
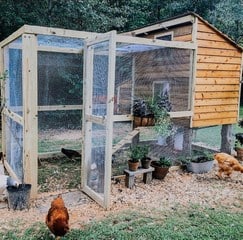
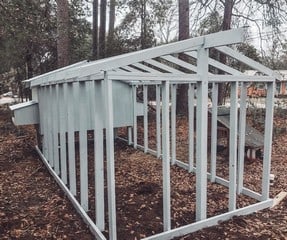
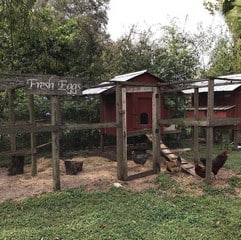
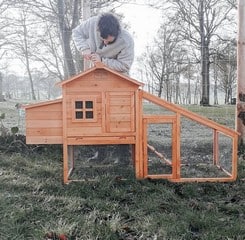
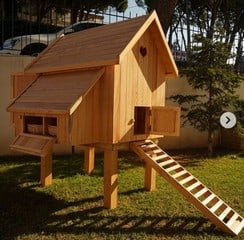
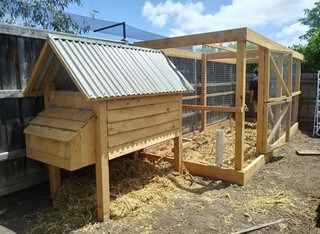
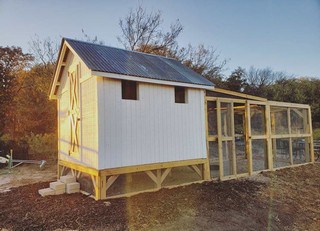
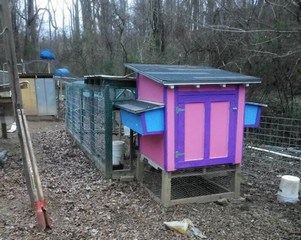
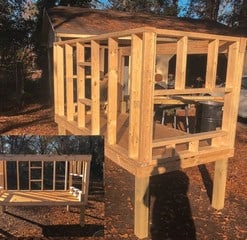
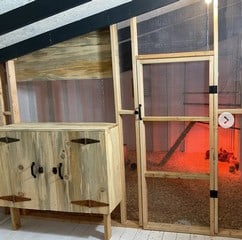
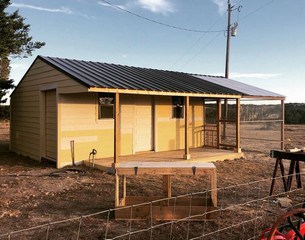
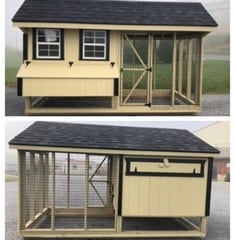
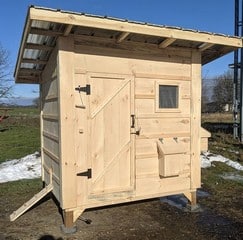
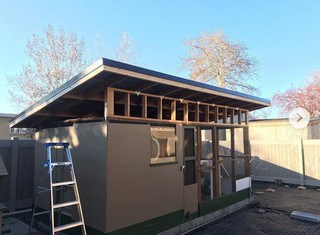
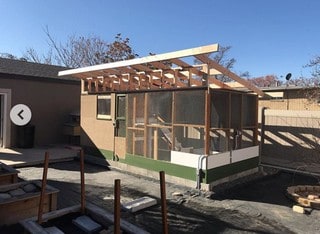
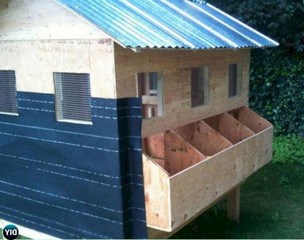
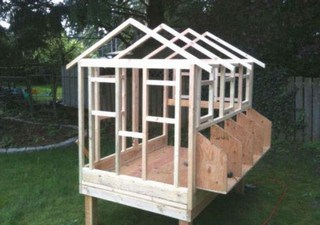
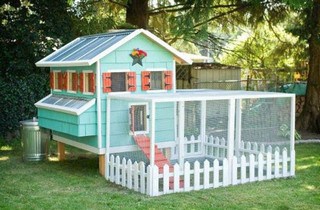
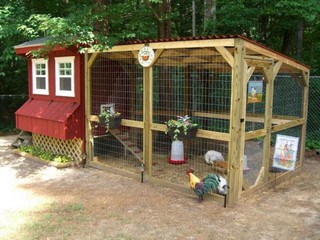
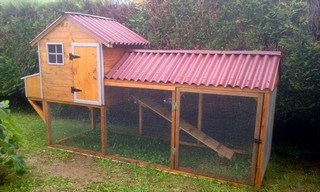
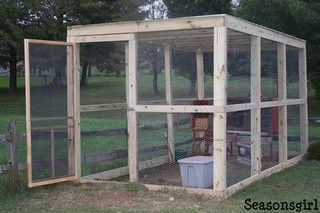
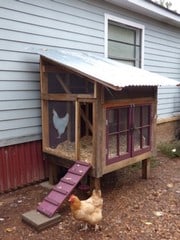
We understand it might be tough coming up with plans for your chicken coop, therefore we’ve taken the liberty of scouring the internet for some amazing coop ideas. Browse through the images below to gain a head start in your quest to construct your own chicken coop:


Check my other DIY chicken coop.