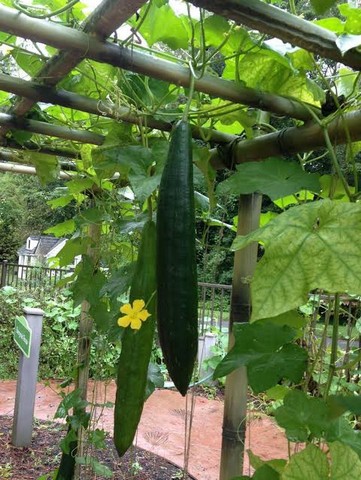
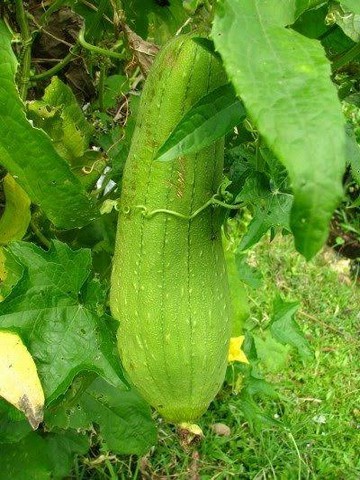
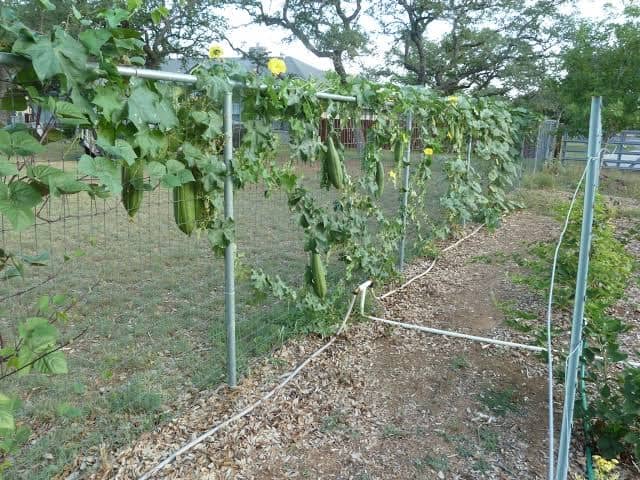
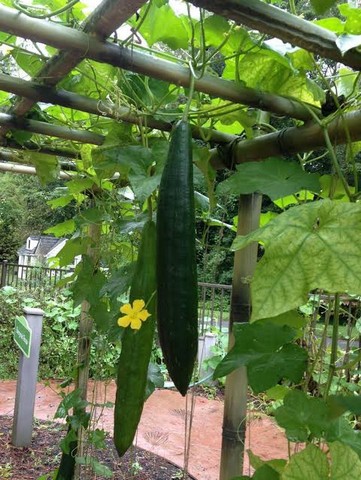
You’ve, at one point or the other, used Loofah sponges for either scrubbing dishes or taking your bath, but how many of you know that Loofahs are actually plants – vegetables to be precise? That’s right, I bet many of you didn’t know that growing loofahs is possible.
Loofahs (also spelt as luffa, loofa, loufa) are a genus of tropical vines, belonging to the cucumber family.
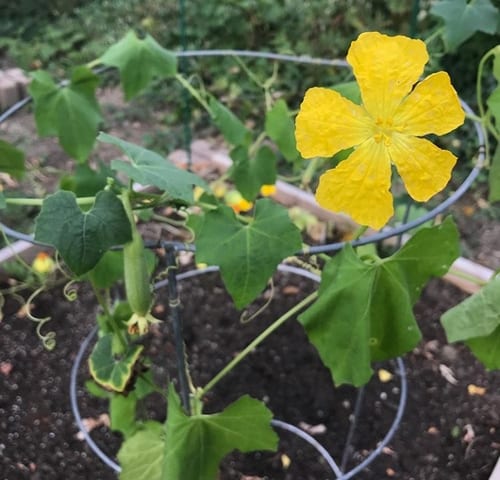
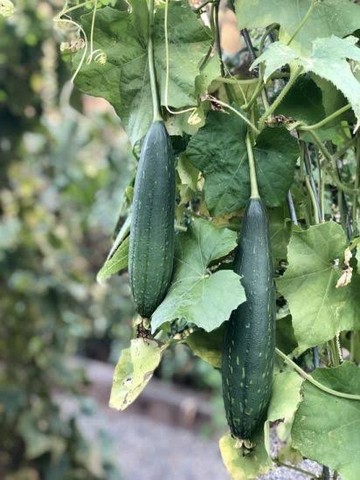
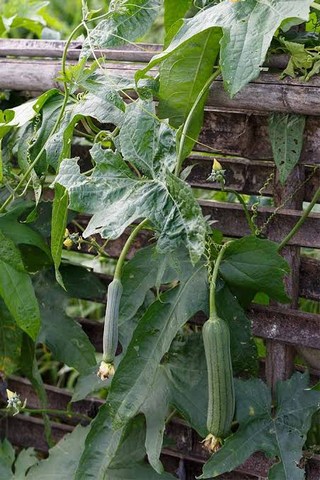
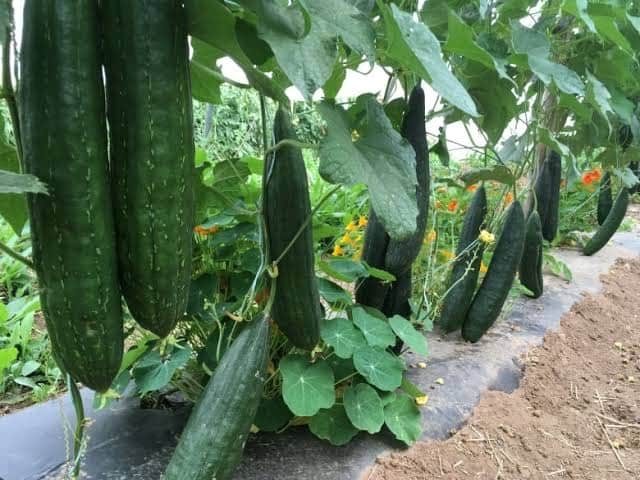
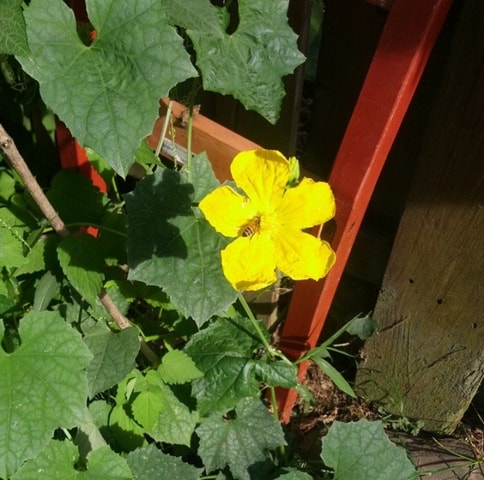
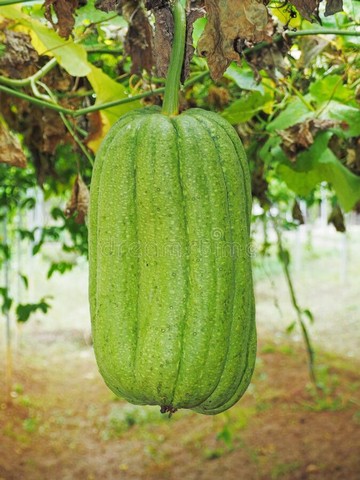
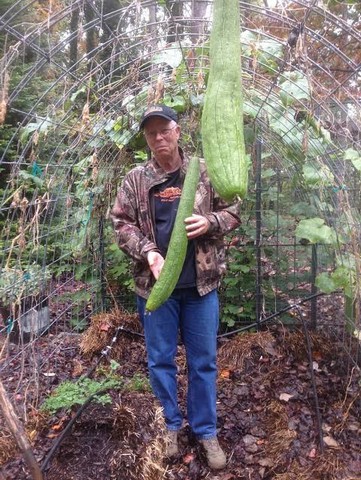
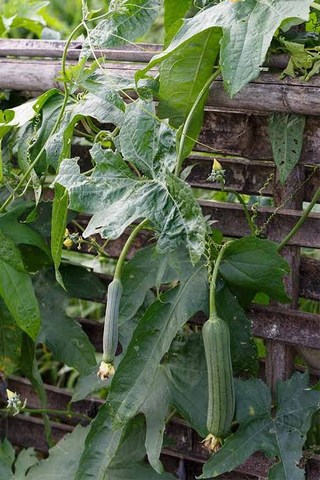
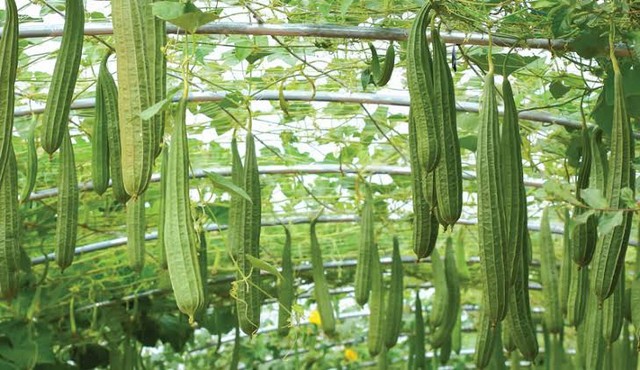
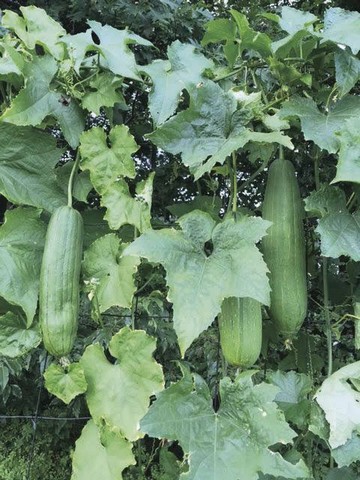
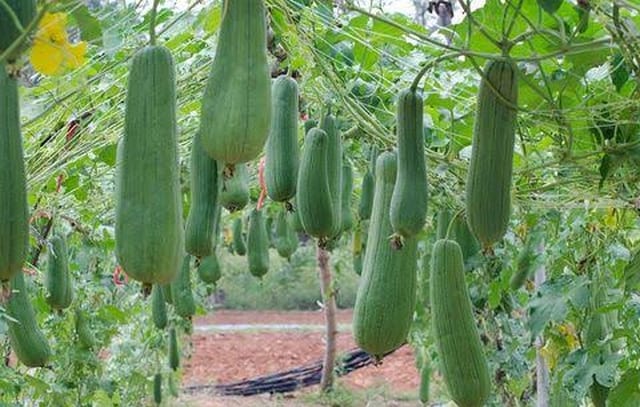
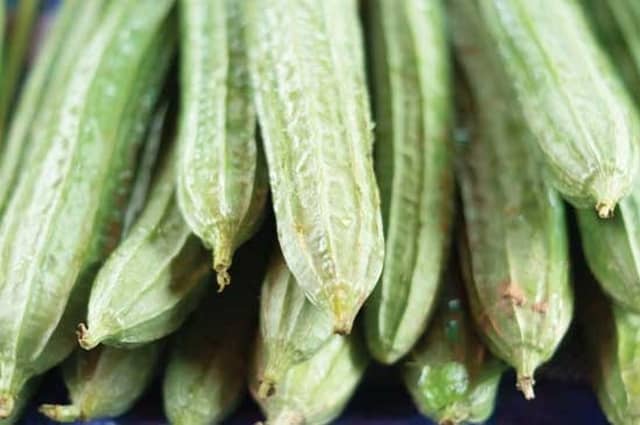
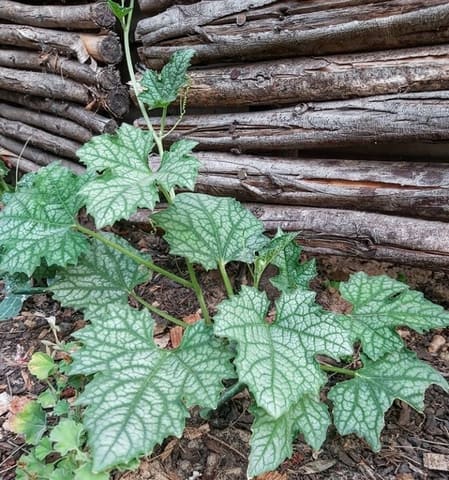
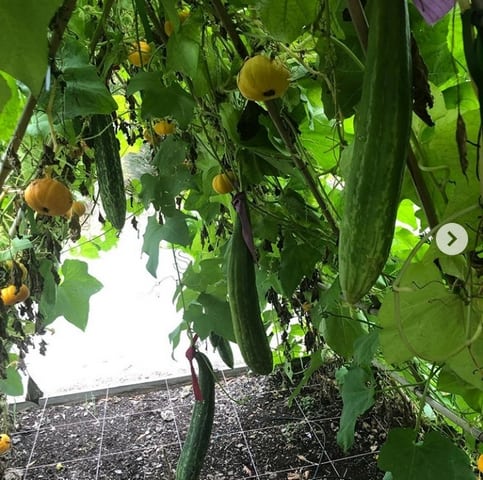
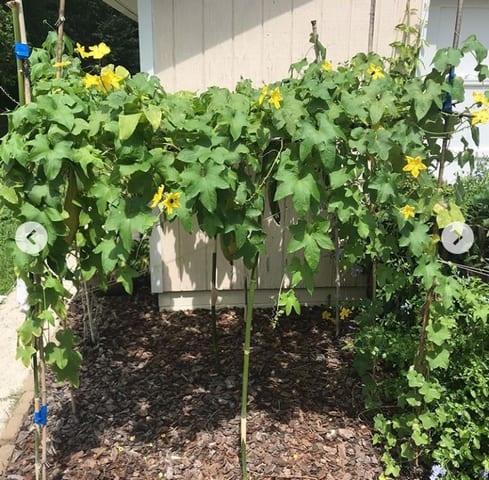
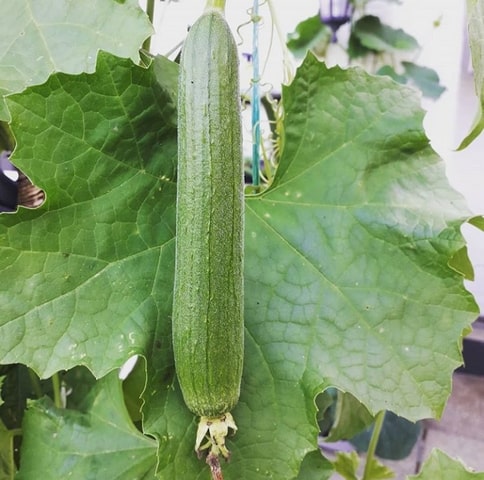
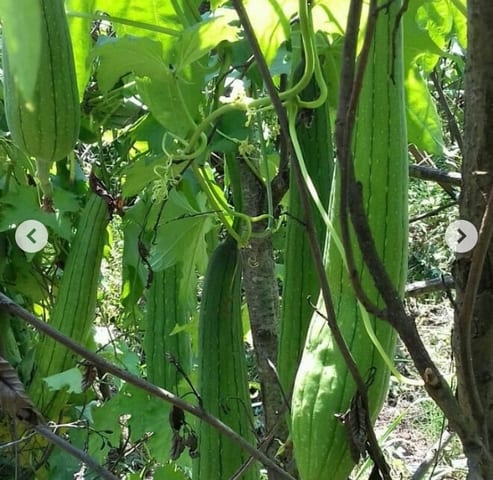
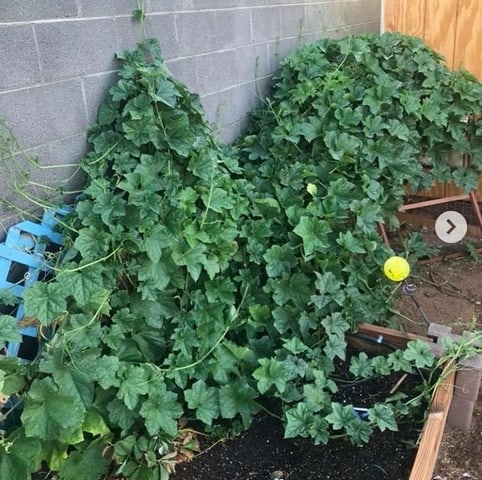
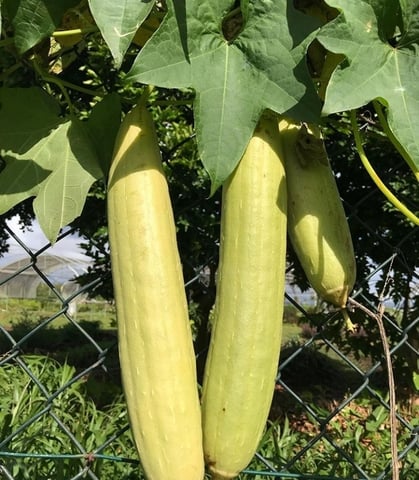
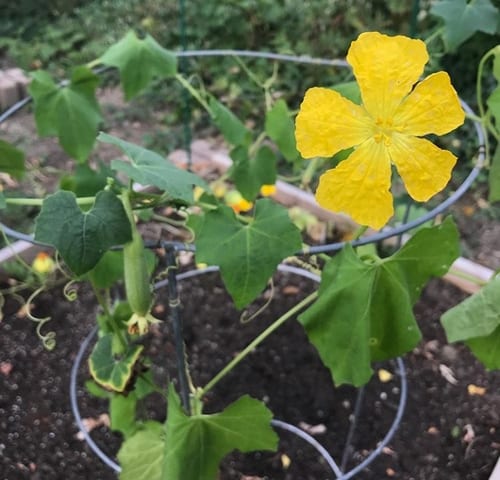
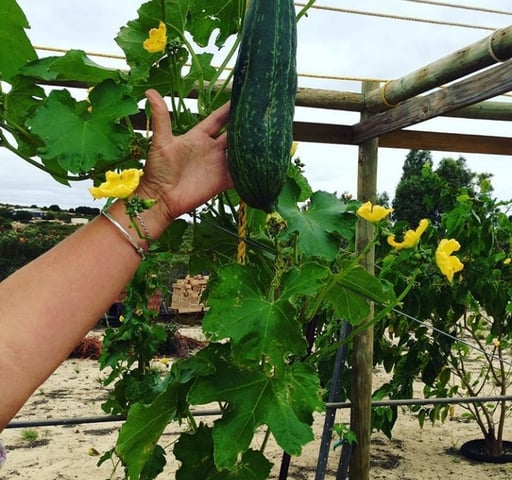
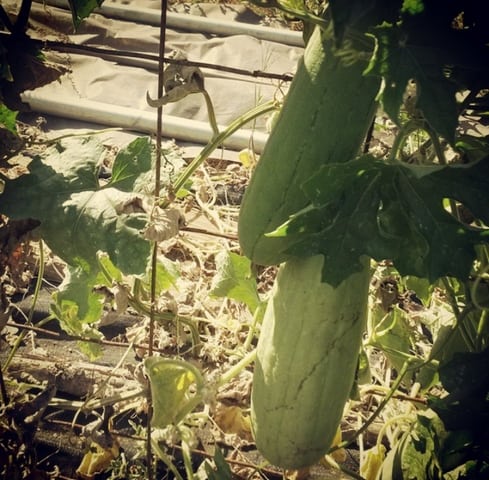
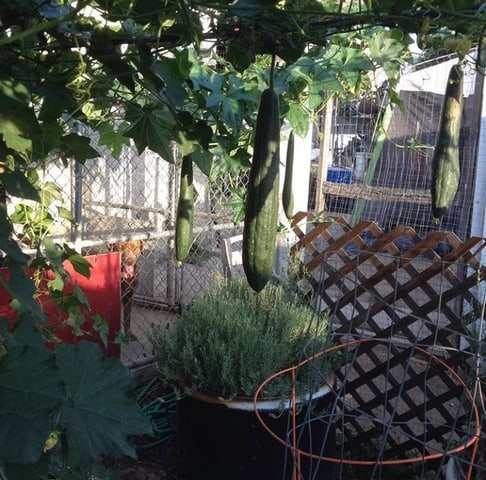
Loofah plants usually have large leaves with yellow flowers, while the fruits are long and green – just like the bigger version of a cucumber.
Although, loofahs are generally raised for their sponges, young loofah fruits can be harvested and made into soups and stir-fries. Also, farmers use loofah sponges to aerate hard, compact soil.
With a packet of seeds and basic gardening skills, raising your own supply of these non-toxic sponge plants is all too easy. In today’s article, we are going to show you ways to growing loofahs for use as sponges in your backyard.
Step 1: Selecting the right soil and location
For loofah plants to do well, the planting medium should be moist yet, well-drained. For poorly drained soil, add about four inches of compost to improve drainage, and increase fertility at the same time.
Loofah plants grow best in acidic soil of pH between 6.0 to 6.8. Hence, for soils that are deficient, add iron sulphate to increase acidity or lime to increase alkalinity as the case may be.
Make sure the planting patch is in a place that receives lots of sunlight as this is necessary for proper growth of loofahs. It could also help to use a site that is situated along a fence as loofah plants are strong climbers.
Step 2: Planting loofah seeds
You can purchase loofah seeds at local nurseries or garden centres. Alternatively, purchase loofah seeds on online stores.
Loofah plants require around 150 to 200 days of warm weather to grow and ripen. Therefore, if you live in really cold regions, start planting indoors 6 to 8 weeks before the average last spring frost week.
Before planting loofah seeds, ensure you scratch them against a rough surface. After that, soak the seeds in water, 24 hours before they are due to be planted.
This process is known as scarification, and it makes it easier for moisture to penetrate the seed coating, thereby aiding germination.
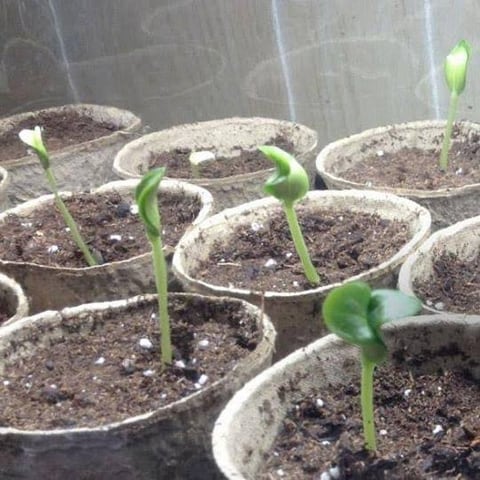
Plant 3 to 4 loofah seeds in holes that are ½-inch deep. Maintain a space of 8 to 12 inches between each seed. Loofah plants are slow to germinate, therefore, you need loads of patience.
Step 3: Maintenance and care
Once the loofah seeds germinate, thin the seedlings to the best two plants per stand. Peradventure you were initially unable to get a site near a fence, construct cages or supports for the young seedlings to climb and cling on to as they mature.
Add a thin layer of mulch around the loofah plants, but take care not to push the mulch directly against the stems.
Water the loofah plants consistently during the growing season. However, do not over-water the plants as this might lead to poor growth and root disease.
If need be, feed the plants fertilizer, compost or manure to supply them with essential nutrients.
Cut off the first flowers, and the first four lateral branches that appear on your loofah plants to encourage production of better fruits.
Step 4: Harvesting Loofahs
If you intend on consuming your loofah plants, harvest the gourds when they are still young and green.
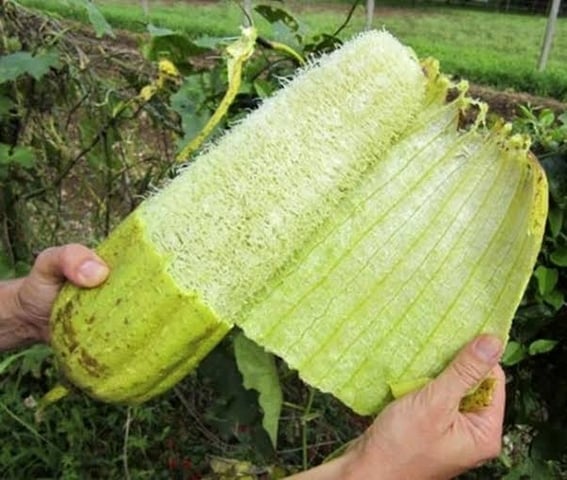
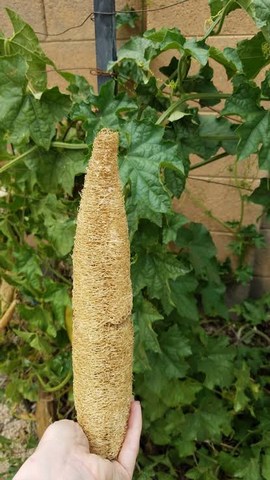
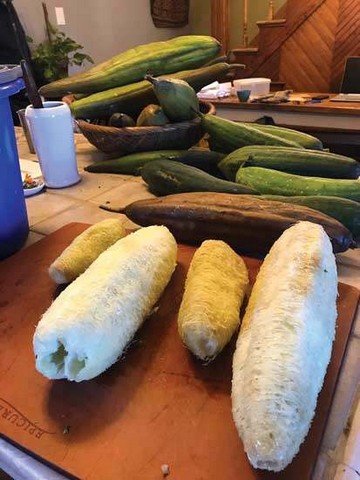
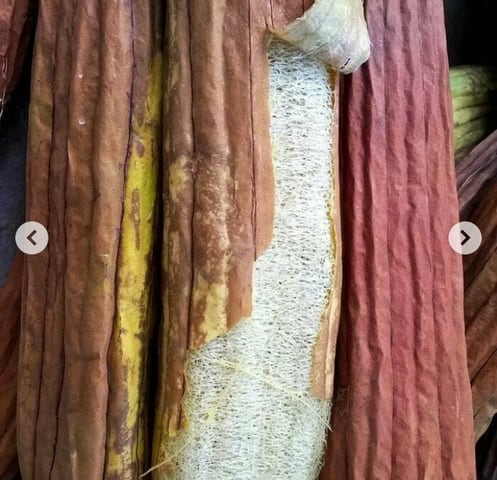
However, if you are growing loofah for sponge, leave the gourds on the plant till it becomes lightweight, and its skin begins to turn yellow and fall off.
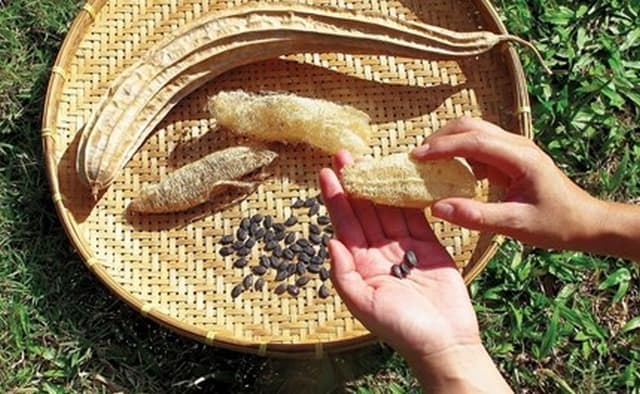
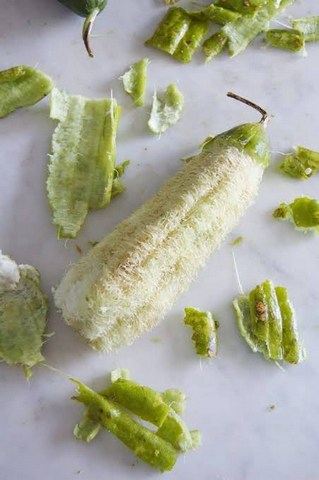
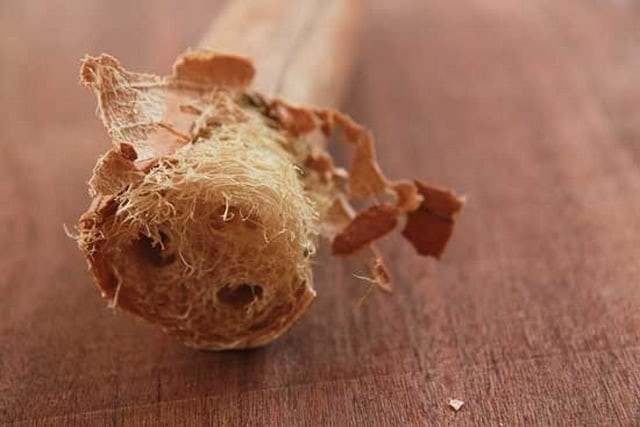
Once loofah plants reach this stage, detach the gourd from the plant. Cut off one end and shake out the seeds – save the seeds for the next planting season. After that, cut off the other side, and roll the dry loofah plant out on a table to peel off the skin.
Dry the loofah plants in the sun before storage to prevent development of moulds.
How to use loofahs?
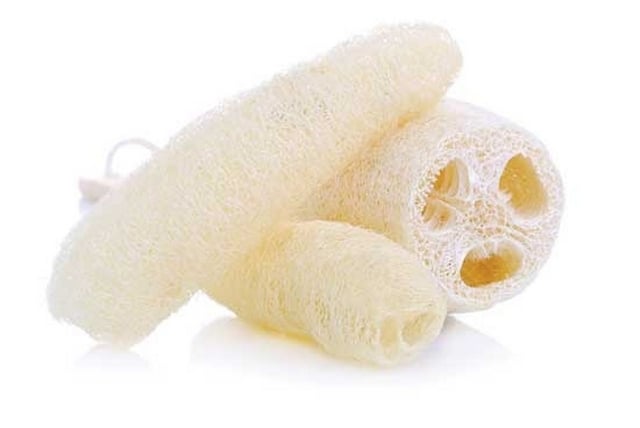
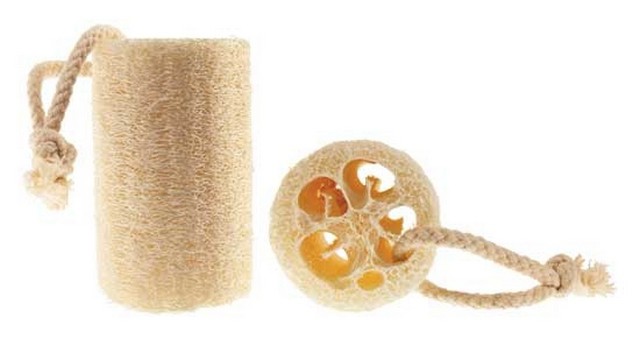
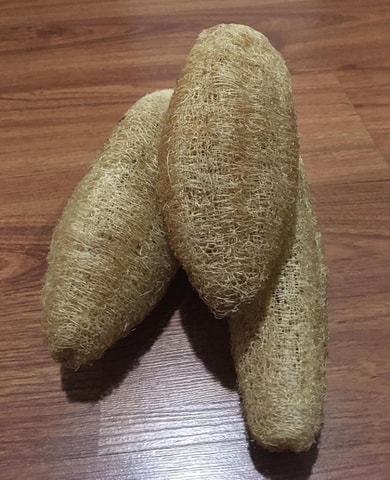
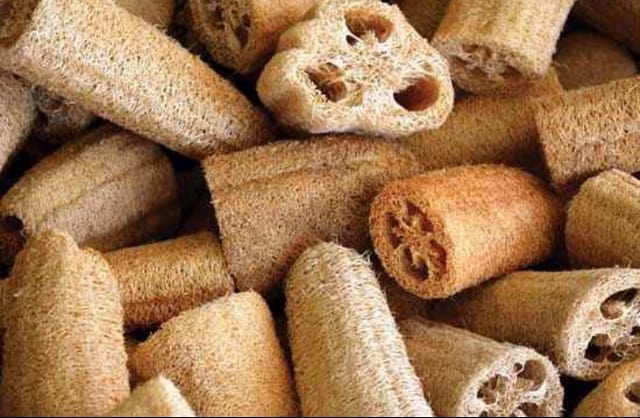
Dry loofah plants are used as sponges in the kitchen, bathroom, and in any chore that requires scrubbing; They are also used as exfoliators for the face.
Photo gallery of growing loofahs and its products
Check out our other growing guide such as this and this post.
