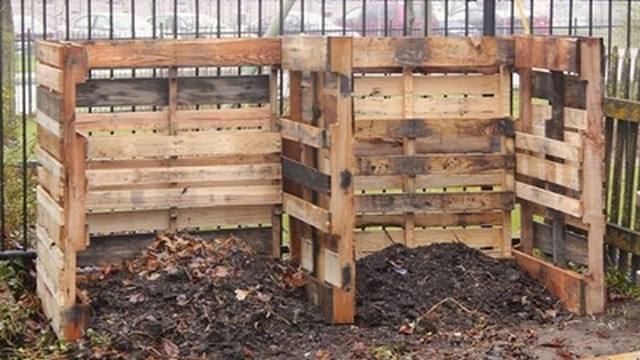
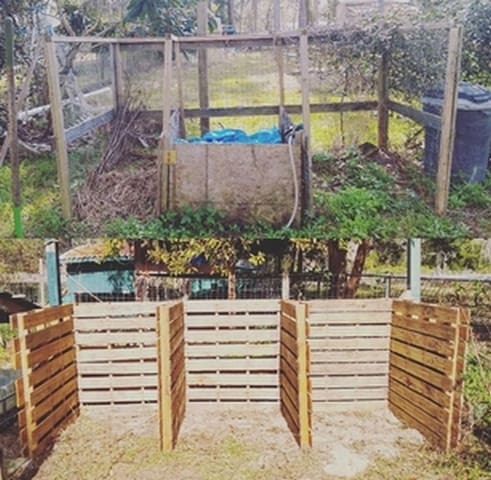
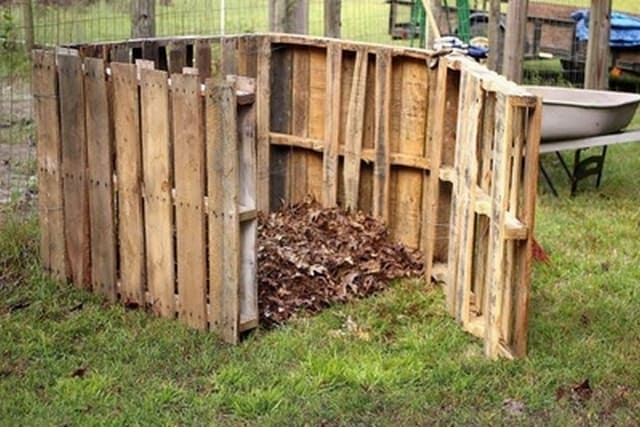
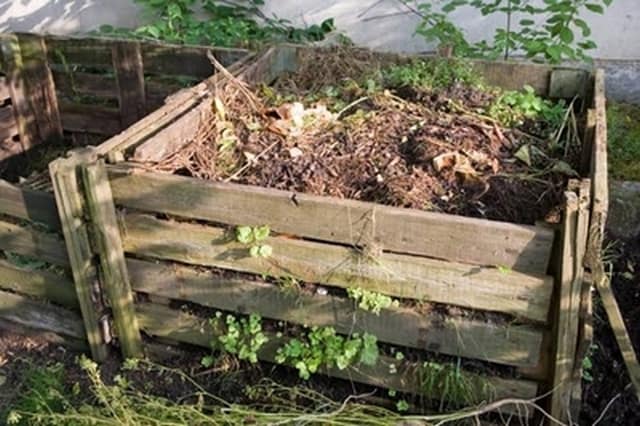
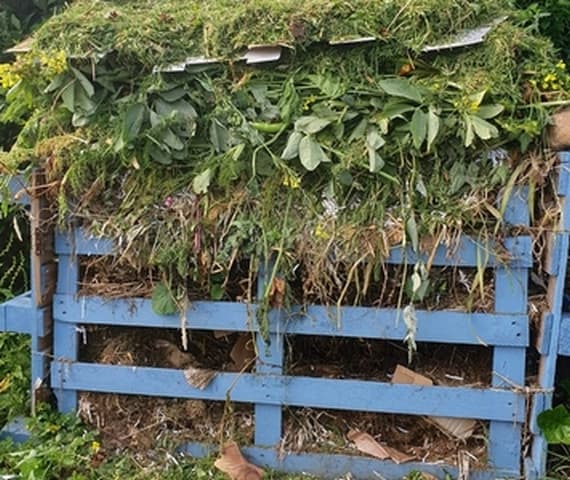
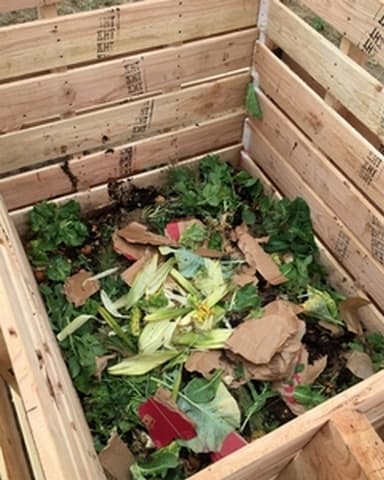
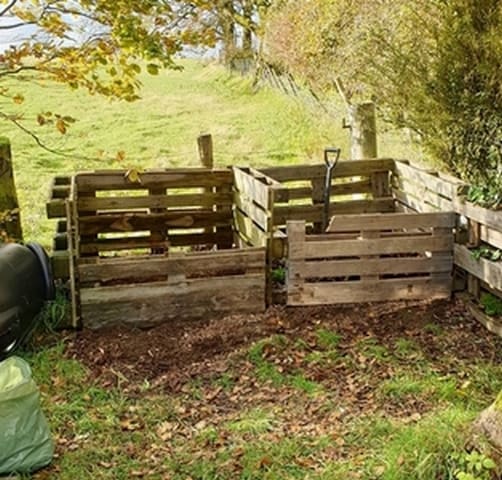
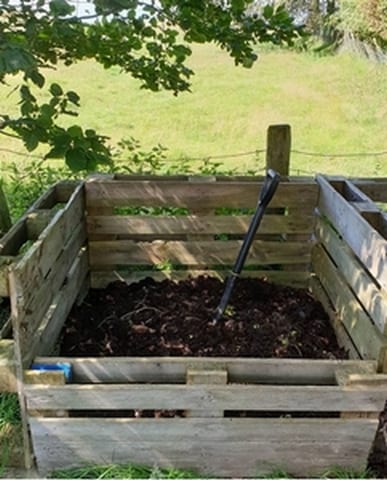
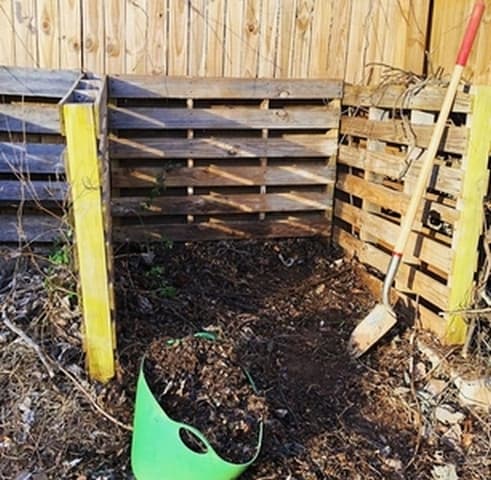
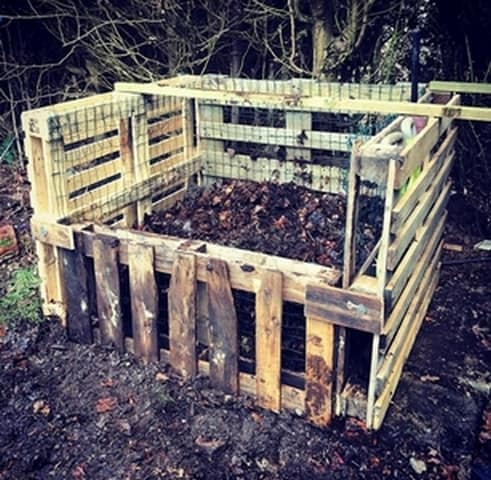
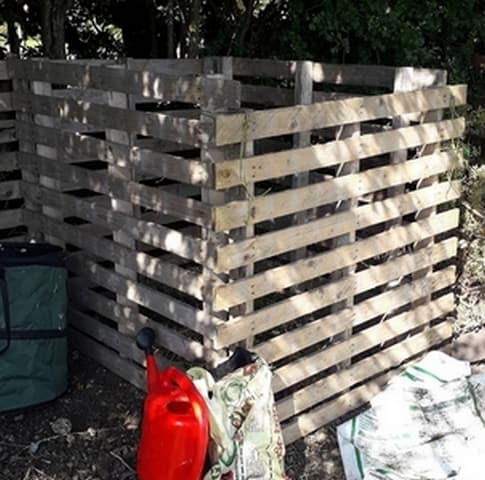
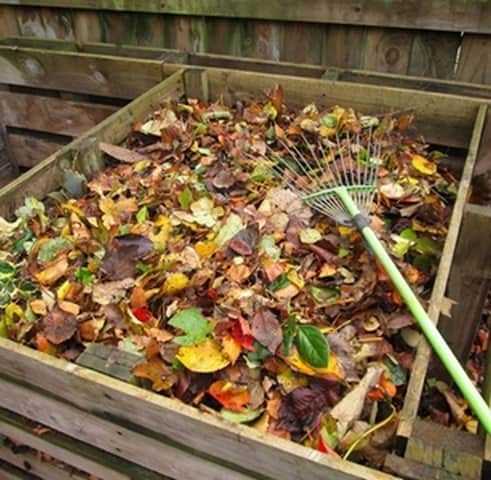
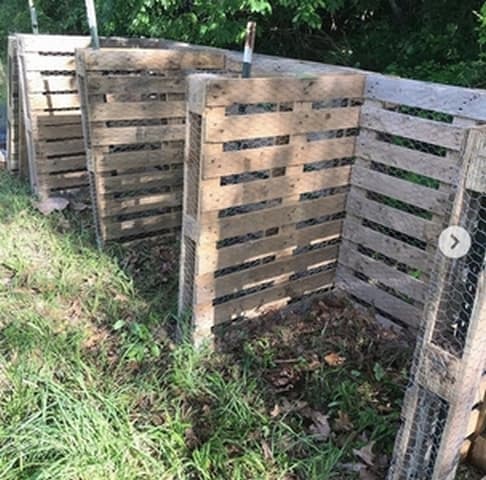
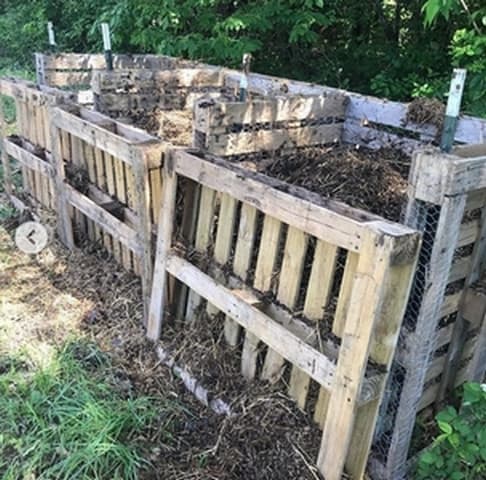
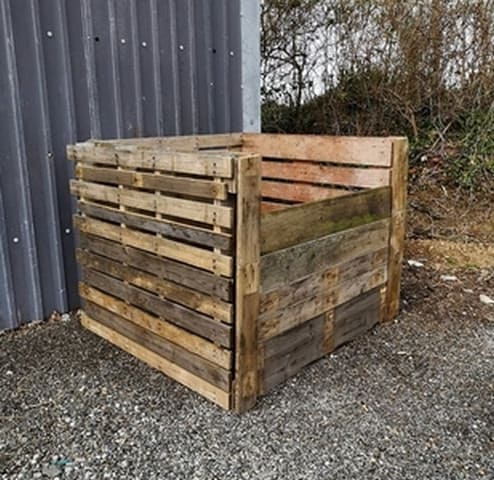
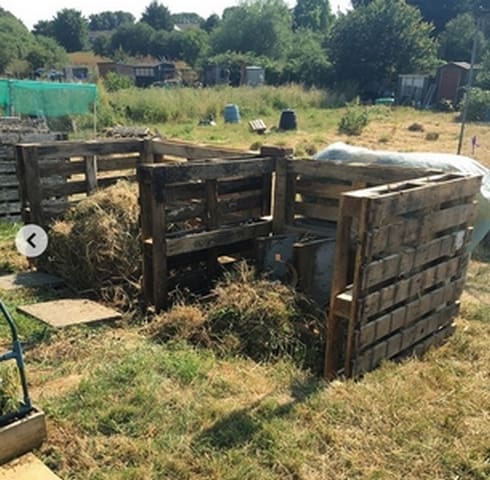
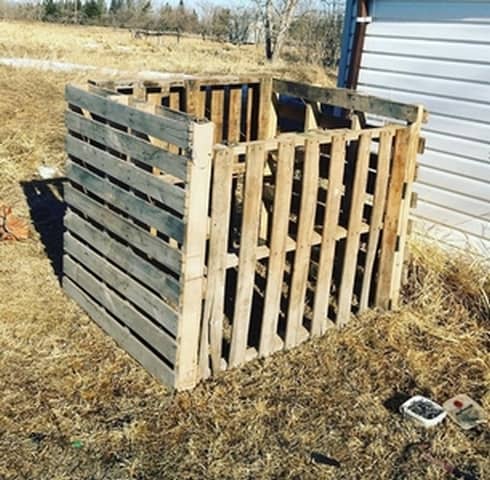
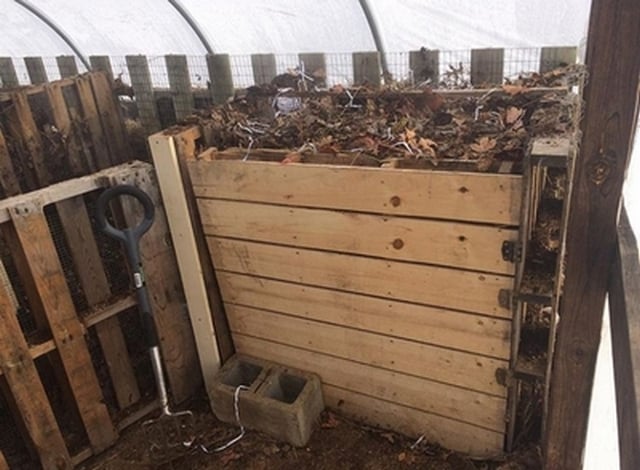
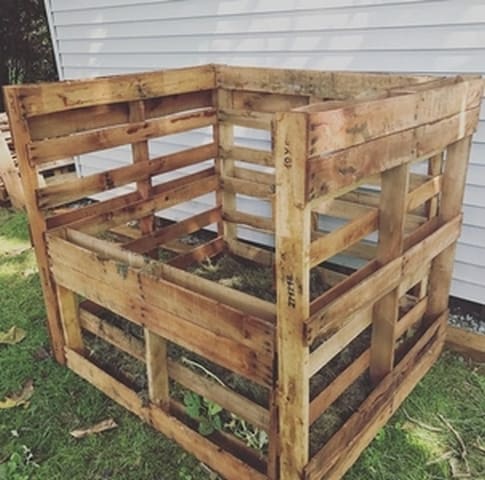
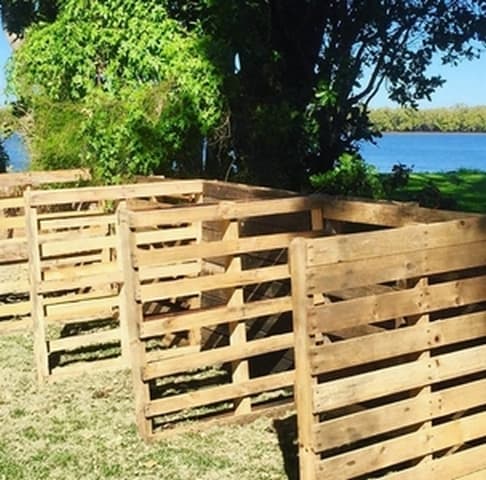
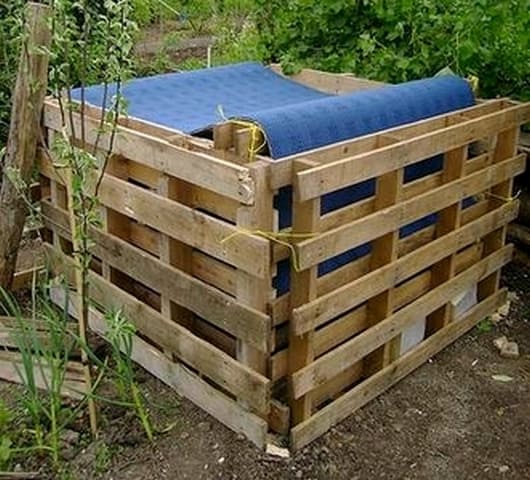
Composting is a great way to recycle valuable organic waste and there’s no better way to do it than using compost bin. Loose compost bin tend to look messy, hence using compost bin with wooden pallets is a tidier alternative.
What makes it even better is, constructing compost bins is not a difficult task and can be done using simple wooden pallets.
In today’s article, we are going to walk you through a step-by-step description on how to build a simple compost bin using wooden pallets.
How to make compost bins from pallets?
1. Gather your materials
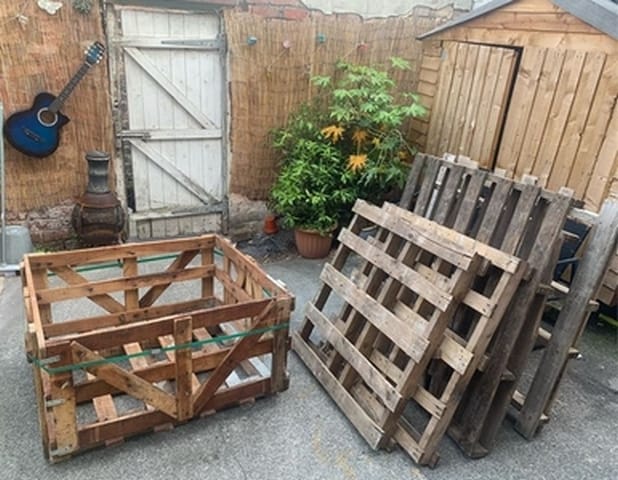
As with every other construction project, you need to prepare your materials before you embark on any construction. To build a simple compost bin with wooden pallets, you’ll need:
- A minimum of four wooden pallets – this can be gotten from furniture stores or you can hire a carpenter to build them for you. All four should roughly be the same size.
- Metal hinges
- A latch or two
- Thick metal wire – this should be easily workable and not too difficult to cut
- Wire cutters
2. Build the frame of the pallet
Start by levelling the ground on which the pallet is to be built. Then, using your metal cutters, cut the wires into workable lengths – 18 inches is okay.
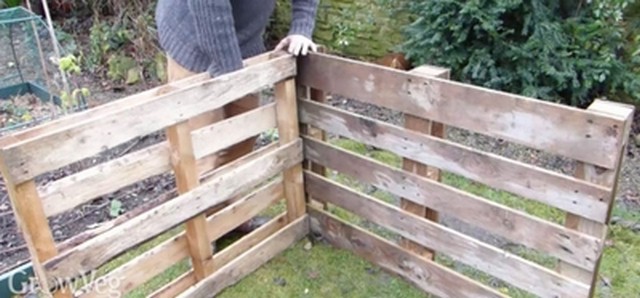
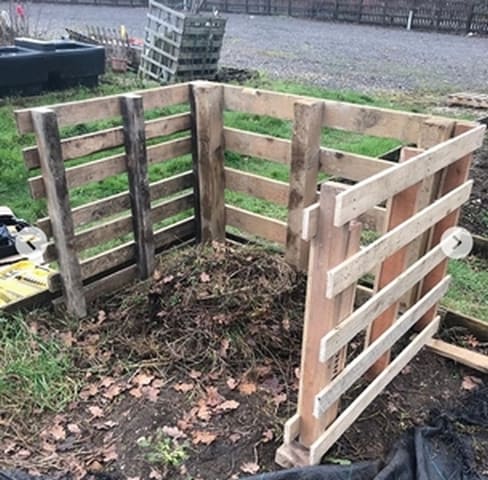
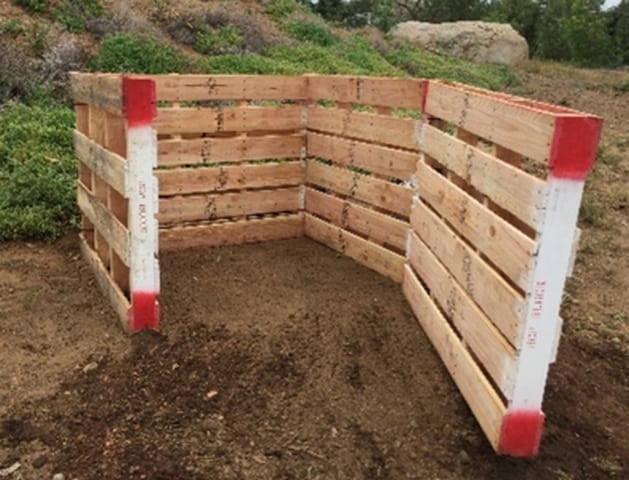
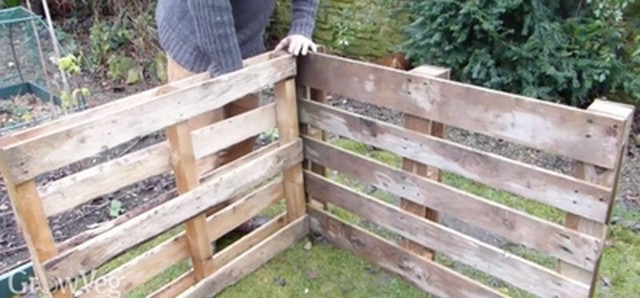
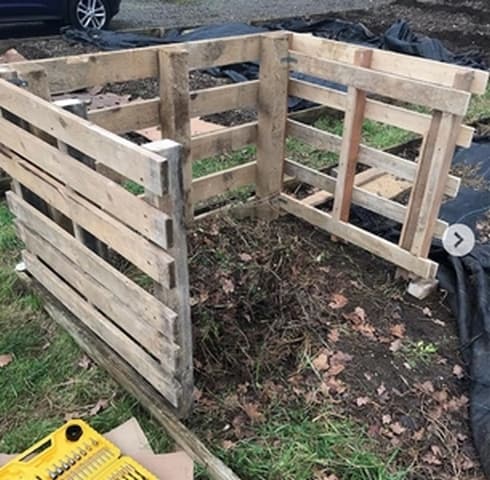
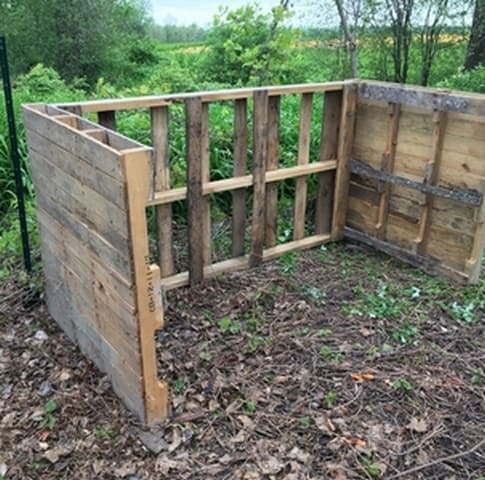
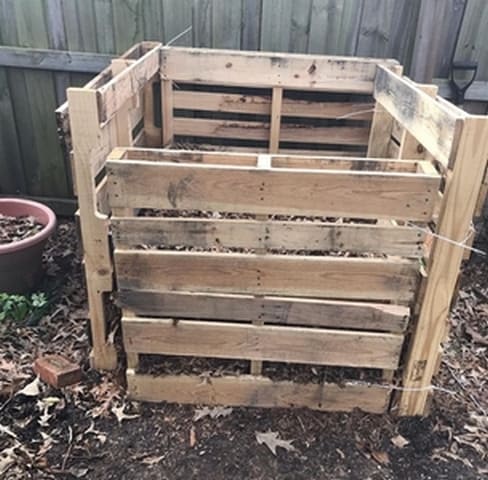
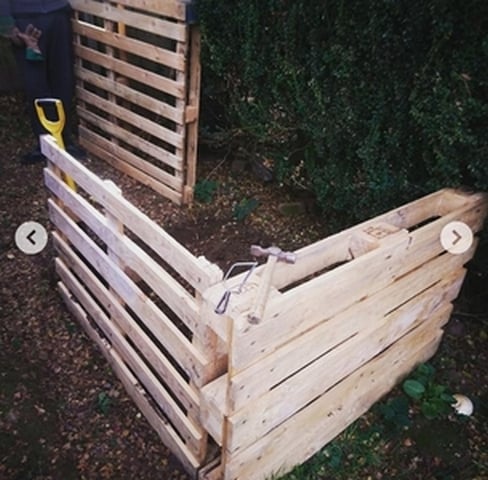
Stand two pallets and make sure their edges form a right angle. Strap both pallets together using the 18-inch metal wires that you had previously cut. Ensure the wires are twisted tight, but be careful not to apply too much tension else the wire might break. Two to three metal wires are enough to support each edge.
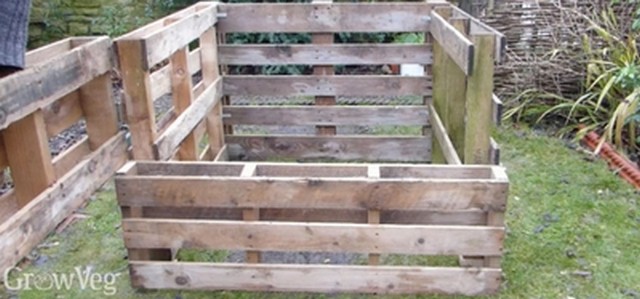
Add a third pallet, so you have something like a square with just three edges.
3. Add a door and other components
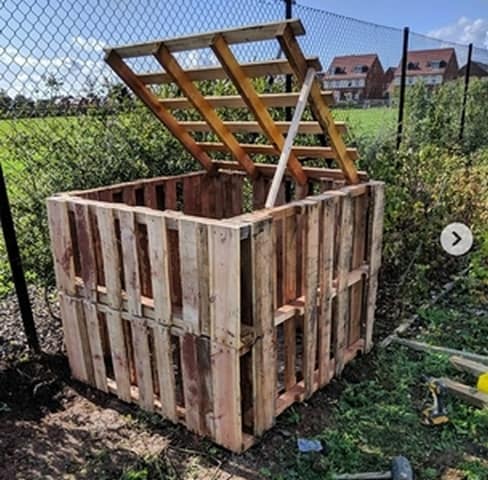
Once you’ve coupled three pallets, what’s left is for you to add a door. This will be done using the fourth pallet. As the other edges of the compost bin are firmly fixed on the ground, lift the door a bit off the ground, say one to two inches, to ensure proper ventilation.
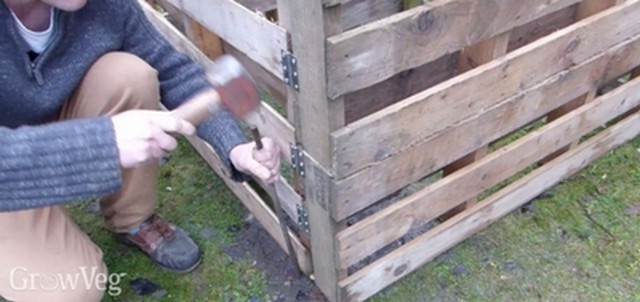
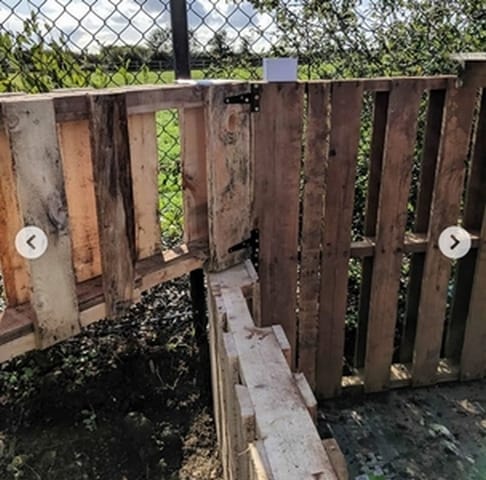
Attach the pallet to one of the walls using two metal hinges – one at the top and the other at the bottom. Make sure the door is a bit raised so that it can swing freely. Then, attach a latch to the door at the free end so you can close the door.
That’s it, the compost bin is finished and ready for use. Additionally, you can screw in plate brackets at the bottom corners to make it sturdier.
If you live in a hot region, you will need to use a plastic tarp to cover your bin. This helps keep moisture in the bin, hence ensure quicker breakdown of the compost.
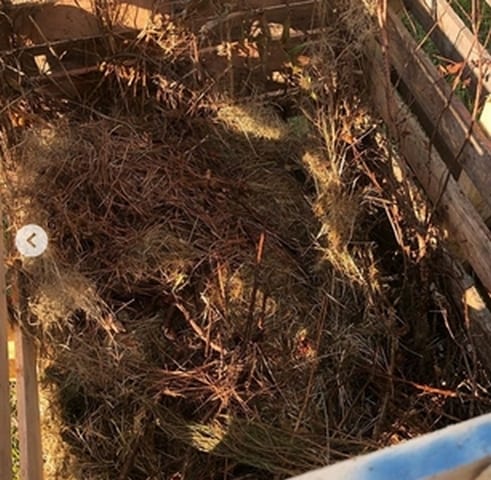
To start a compost, simply start filling the bin with a mixture of browns – such as dried leaves – and fresh green materials and you’re good to go!
If you are interested to do compost tumbler instead, check out this post.
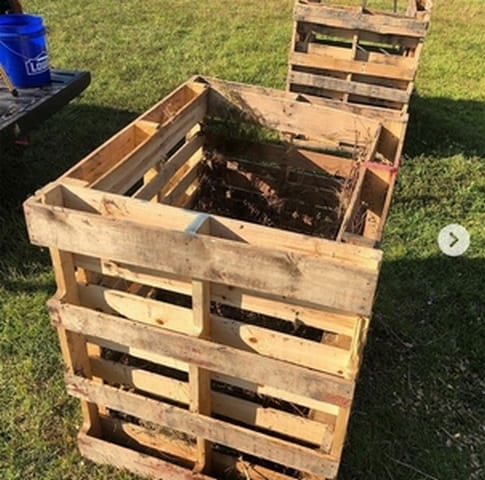
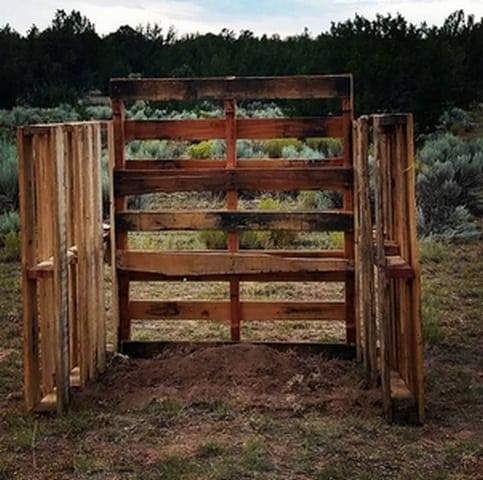
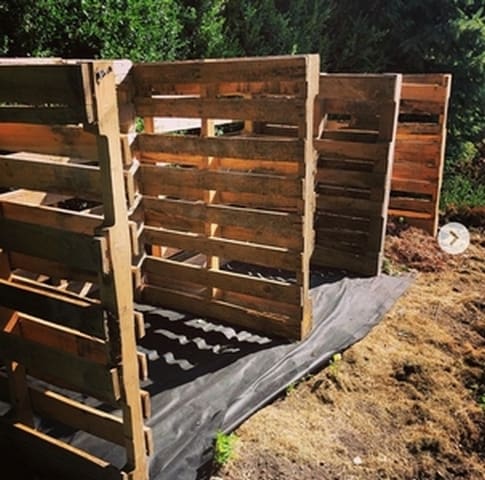
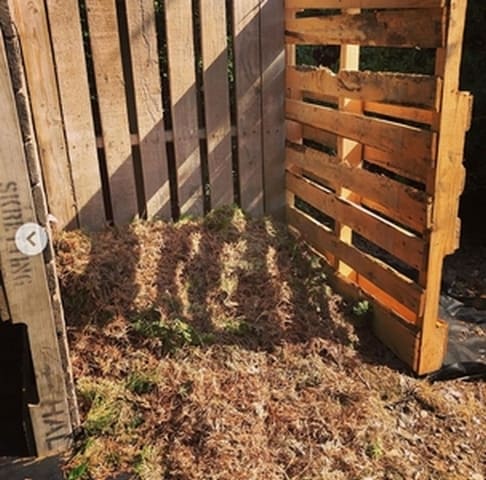
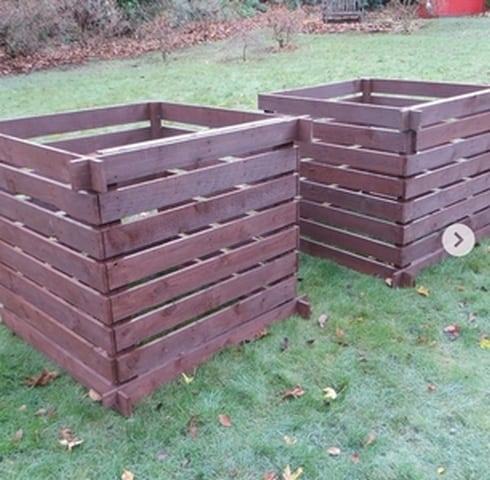
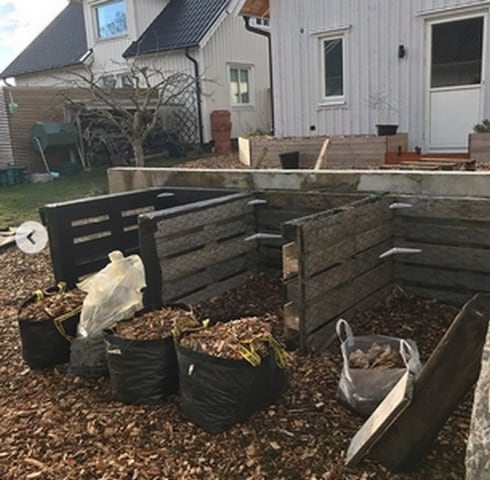
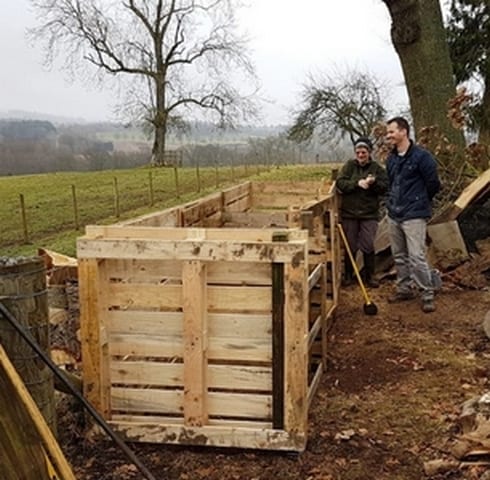
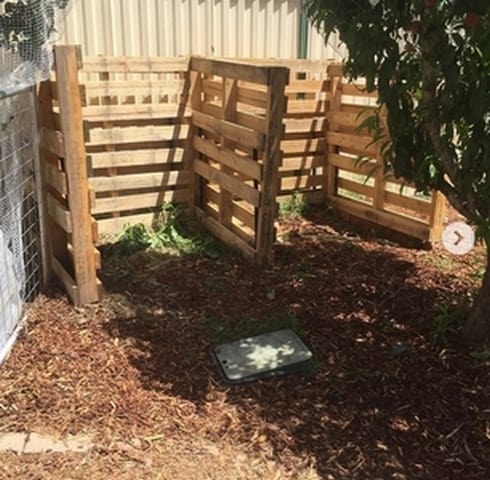
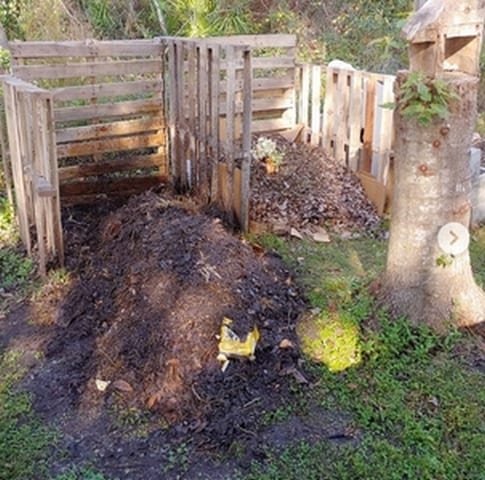
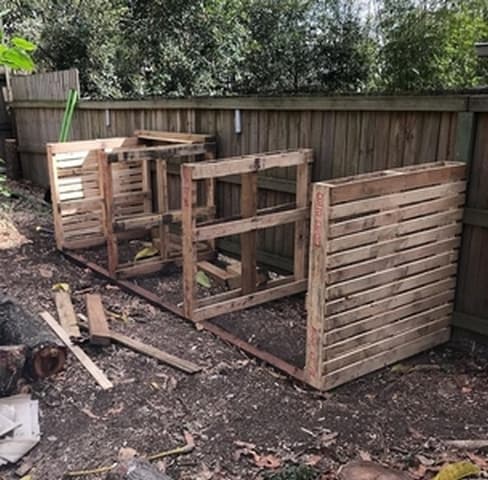
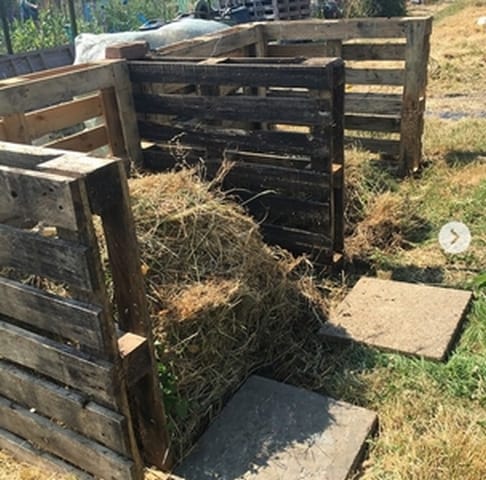
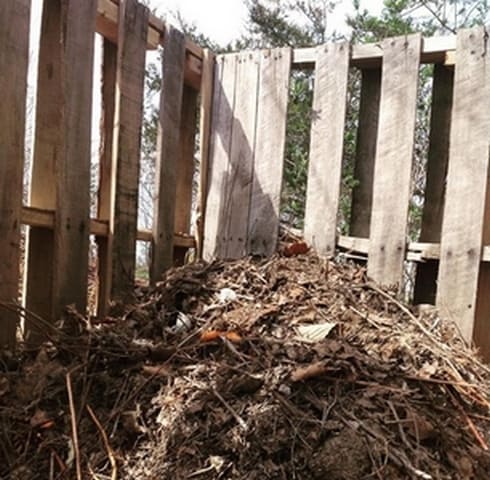
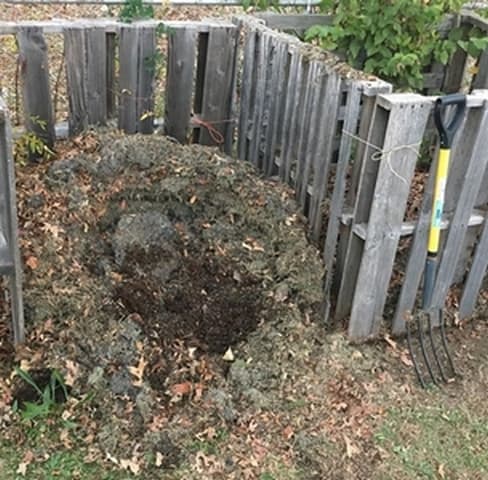
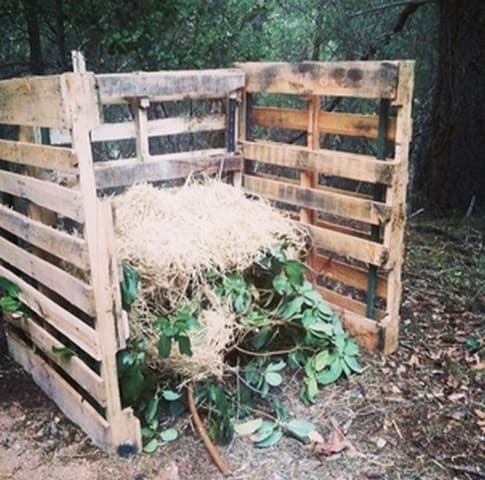
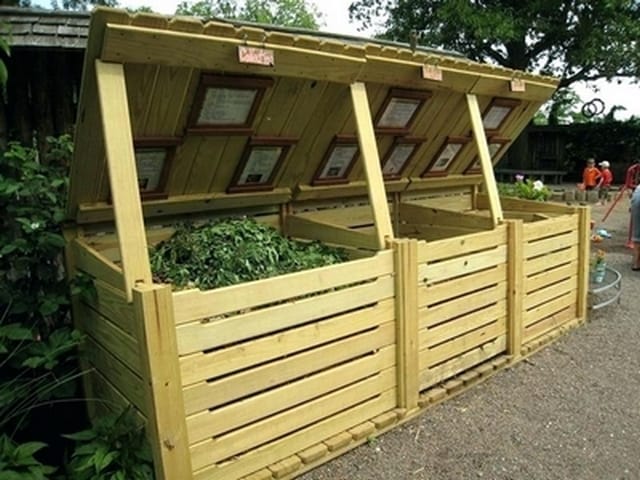
Checkout some more awesome compost bins made from wooden pallets below:
Check my other post on DIY compost bins.
