Raising chickens can prove to be quite an expensive expenditure considering the amount spent on feeding, building a DIY chicken coop and medicine. However, to cope with all these expenses, particularly in the feeding aspect, there are a couple of unconventional methods you can employ. One of these such methods is raising crickets to use as food for your chicken.
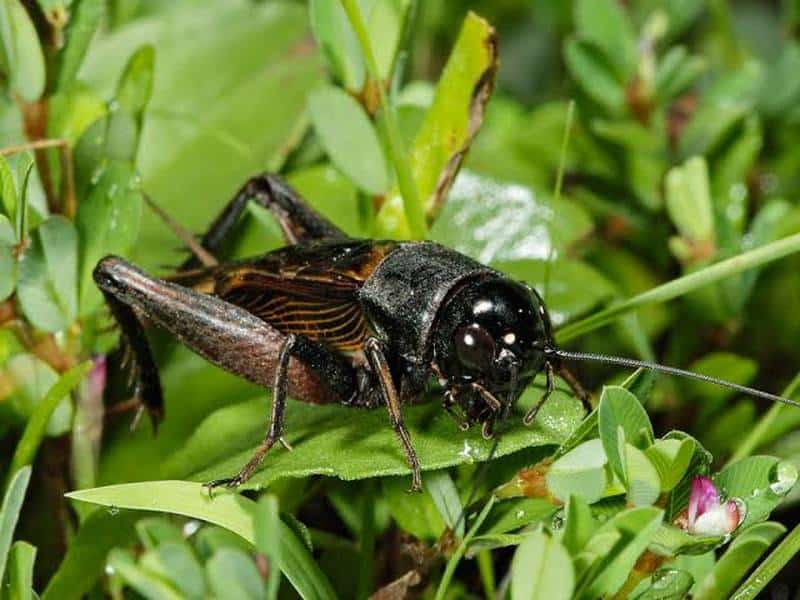
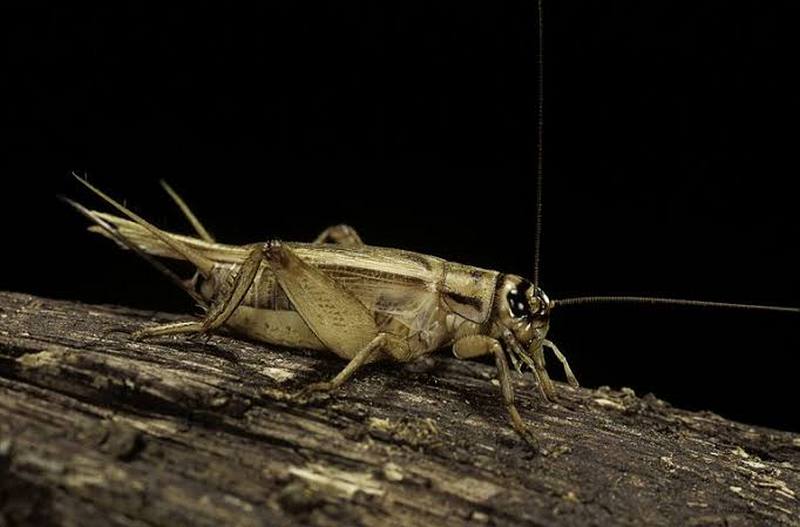
Birds generally love feeding on insects, grubs and worms, therefore why not take it a step further and cultivate these for your chicken?
Not only is raising crickets for your chicken to feed on a cost-effective method, it also means your birds will get a rich supply of protein. In today’s article, we are going to walk you through a step-by-step process to start up your own cricket farm, thereby cutting down on the amount you spend feeding your chicken.
How to raise Crickets for Chicken food?
1. Build a container for the crickets
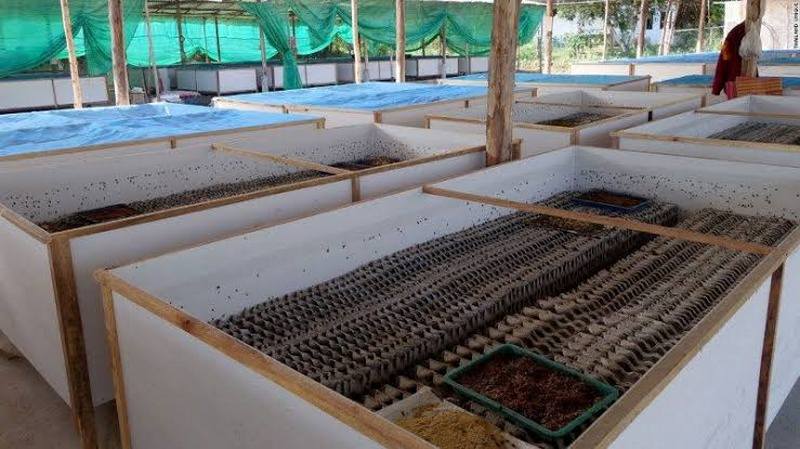
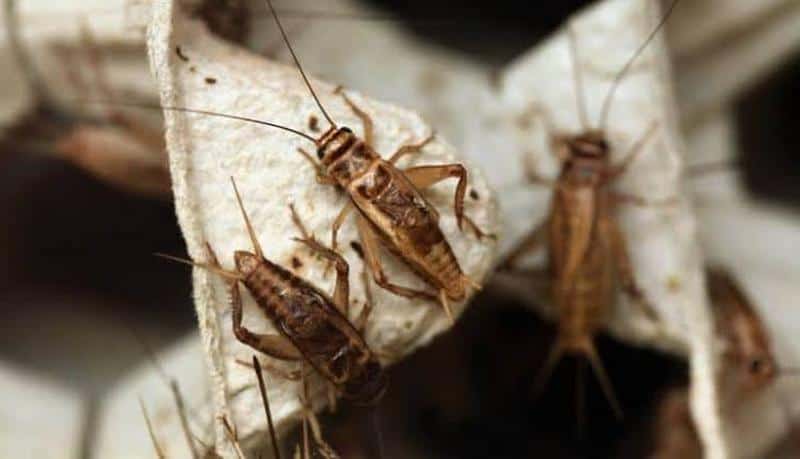
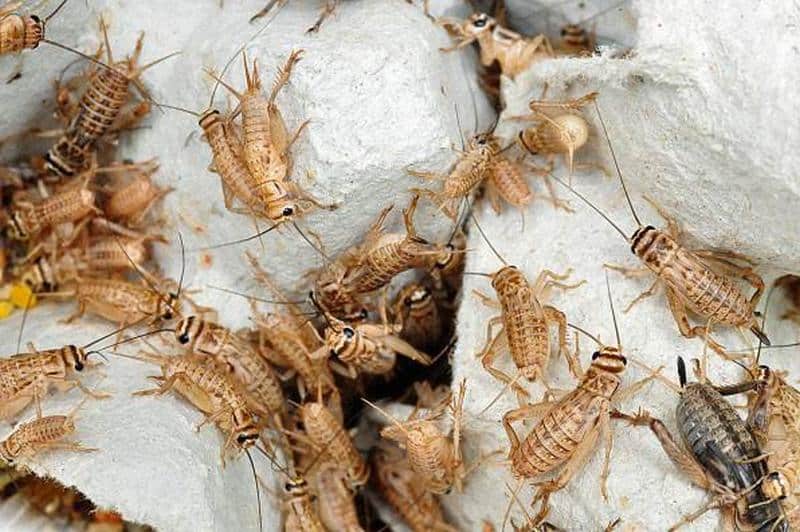
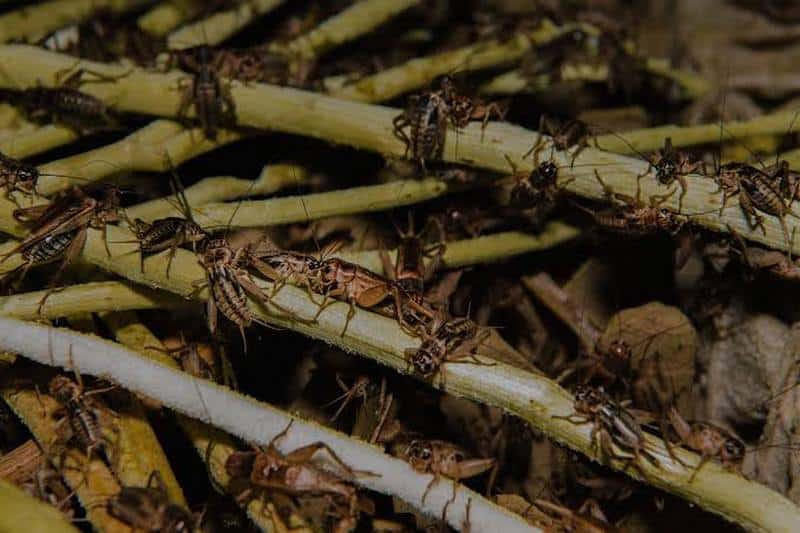
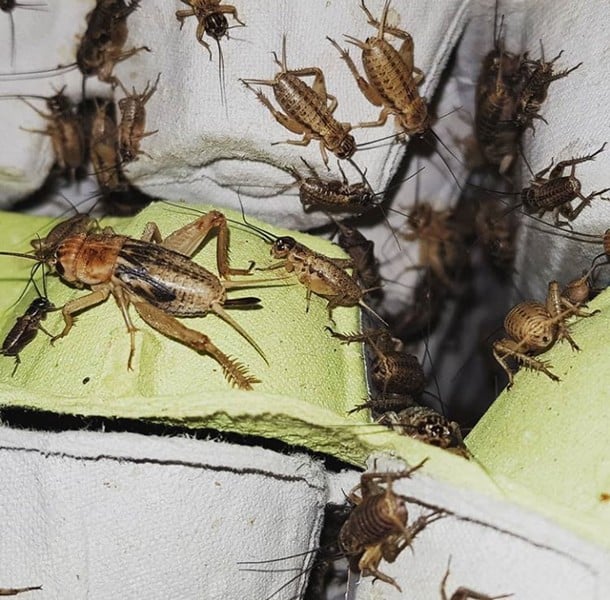
As crickets are very flighty animals, you will need a containing vessel, else you risk them all flying away. It is recommended that you have a minimum of two containers: one for the breeding adults and the other for maturing young crickets.
In choosing a container, you need to, first of all, take into consideration the amount of crickets you want to raise. The more crickets you want to raise, the bigger your containing vessel should be.
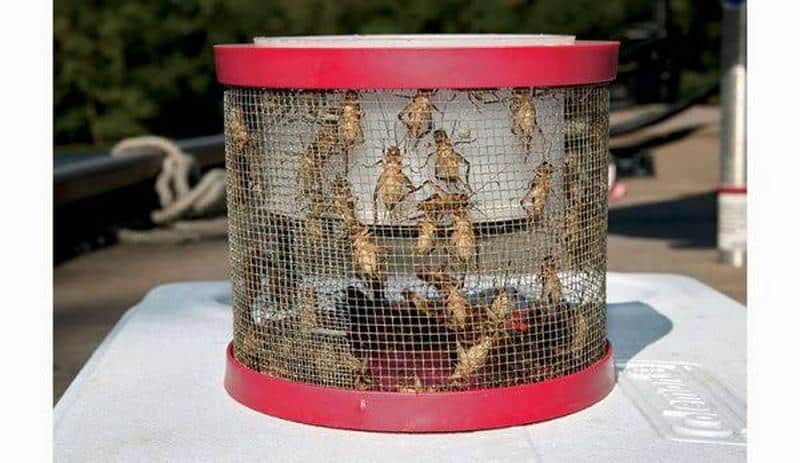
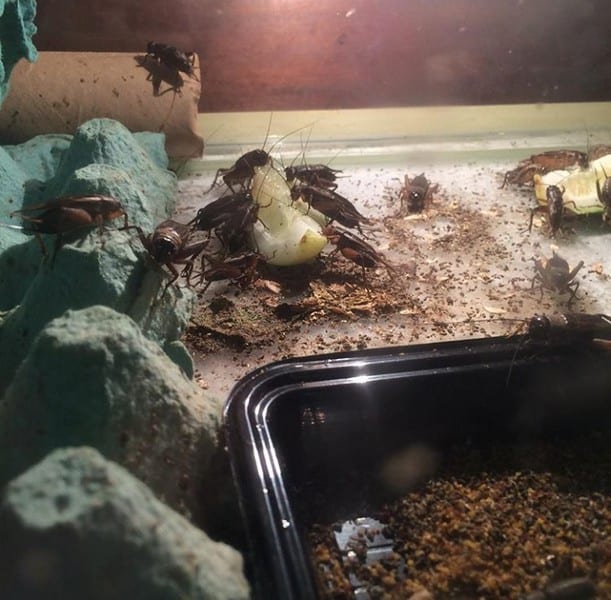
Most times, a clear tote bin with a tight lid is the preferred option for containers. You can also use plastic storage boxes with high sides. Make sure the walls of the containers are smooth so that climbing becomes difficult for the crickets.
Cut two or three holes at the top end of your tote bin and cover with a metal gauze; this is to ensure proper ventilation. Cover the floor of your container with fine vermiculite to prevent Bacteria infections, reduce the smell and give them a clean surface to walk on.
Also, place a disposable plastic container filled with loose, damp soil at a corner of your tote bin. This is for the female crickets to lay their eggs in. Take care to avoid using soil containing fertilizer or pesticides. Cover the top of the container with a wire net to prevent the crickets from eating their own eggs, but make sure the holes are big enough for cricket eggs to pass through.

2. Purchase your crickets
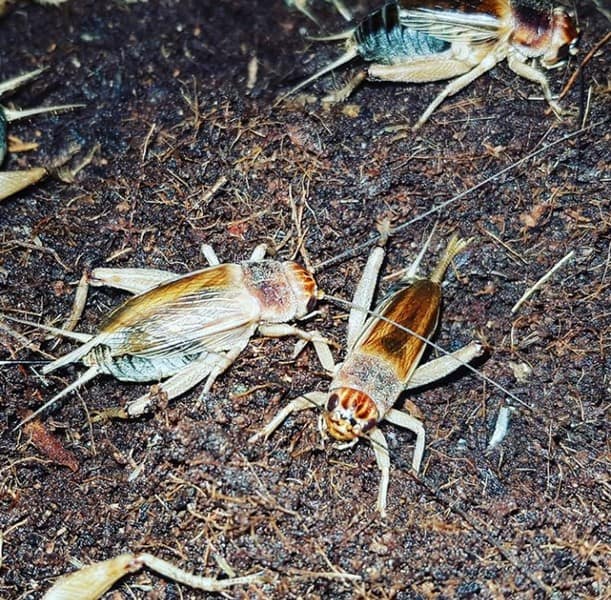
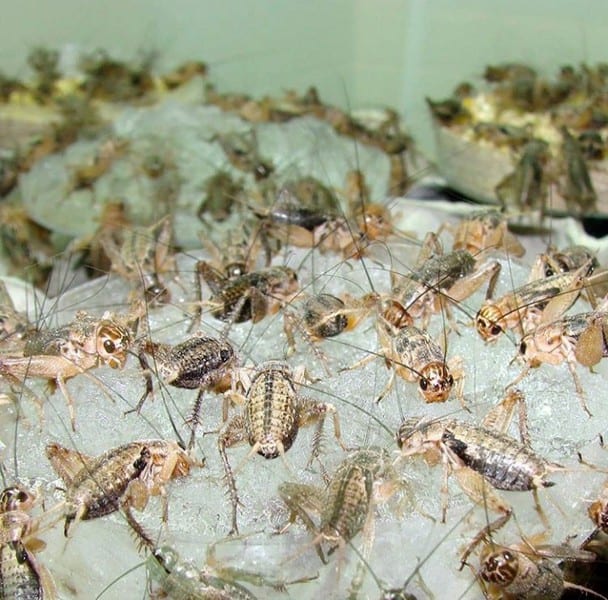
For starters, you can purchase upwards of 50 crickets. Remember to mix things up and buy both male and female crickets, but it is advisable to have more females than males. Make sure you have enough crickets to feed your chicken with, while still having enough on ground to continue the breeding process.
3. Place crickets in the containers
Place all your crickets in the container you have prepared for breeding, mature adults. Give them about two weeks to breed and lay eggs in the soil.
4. Provide heat
You need to keep your crickets warm at all times. Not only does this encourage breeding, but it is also essential for incubation of eggs. You can achieve this by using either a heat pad or a light bulb. Crickets generally do very well in temperatures ranging between 75-90 degrees Fahrenheit.

5. Feeding
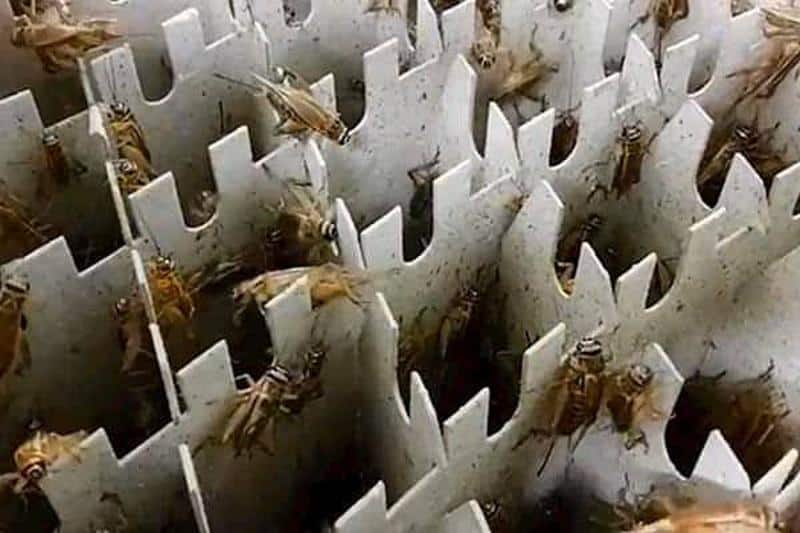
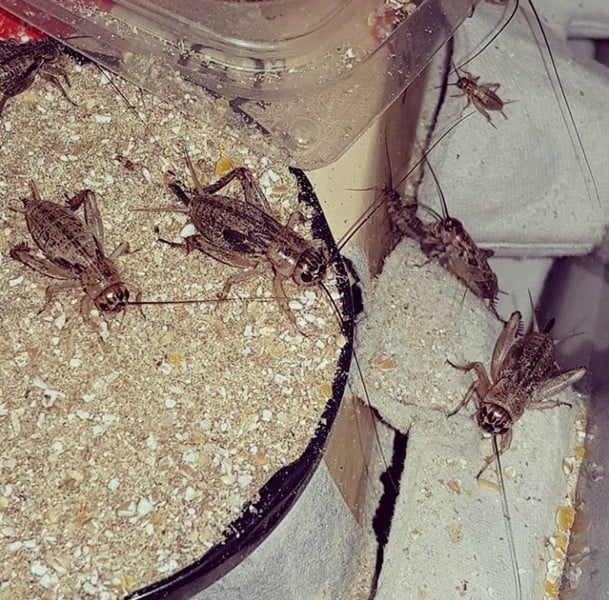
Crickets can be fed with commercial cricket food or crushed, dry chicken feed. This should be served in a jar lid or a tiny container. Supplement their diet from time to time with fruit, greens and other vegetable matter.
When providing water, avoid using deep sources as the crickets can easily drown. Use an inverted bottle reptile water dispenser with a sponge to absorb the water. As alternatives, you can provide a dish of water gel or unflavoured jello.

6. Egg production and breeding
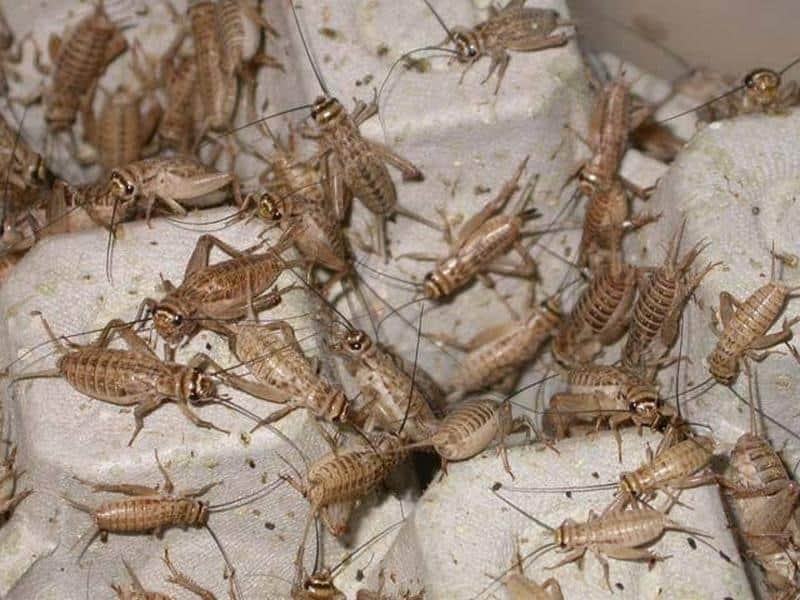
Female crickets generally start producing eggs after two weeks. Once they start laying eggs, take out the eggs regularly and place them in the container reserved for egg incubation. Replace the soil in the container for laying eggs.
Provide your cricket eggs with heat until they hatch. 85-90 degrees Fahrenheit should suffice. Once they start hatching, collect them and place them in a container with food and water where they’ll grow till they are ready for your chicken to feed on.
Remember to reserve some, so that you can continue the breeding process.
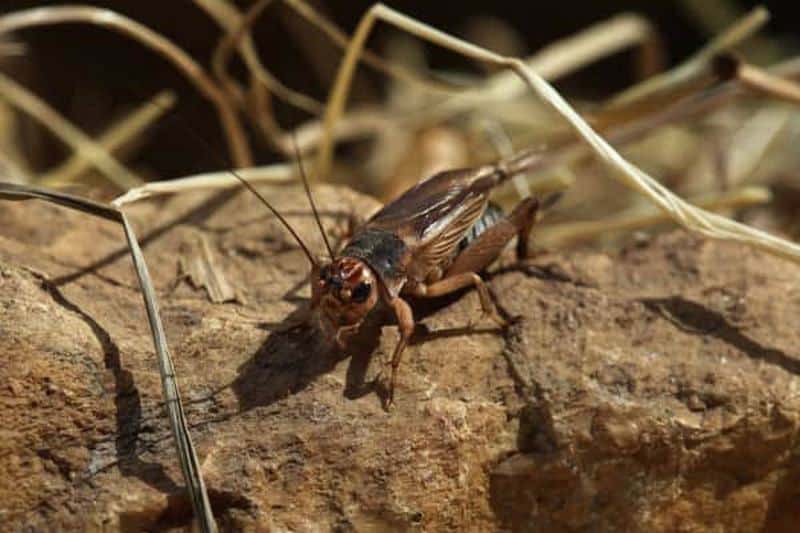
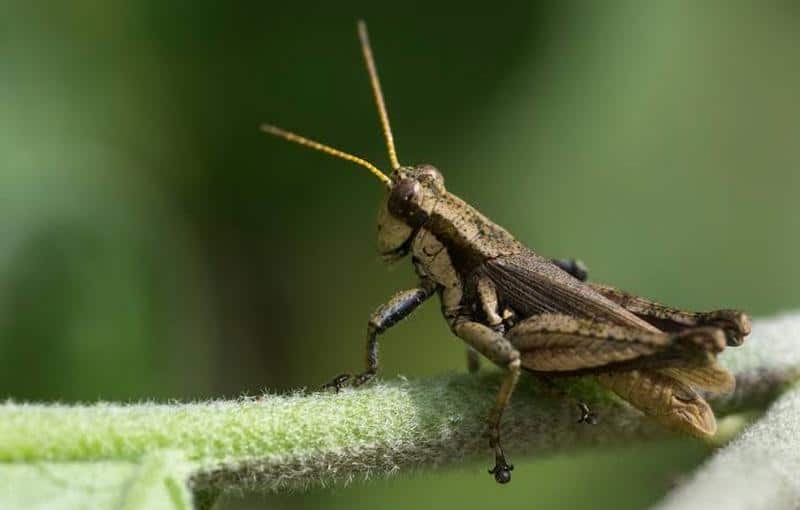
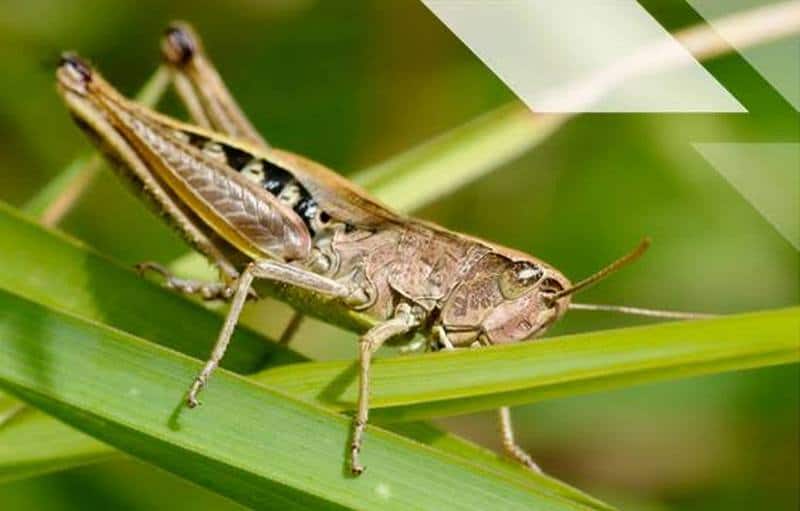
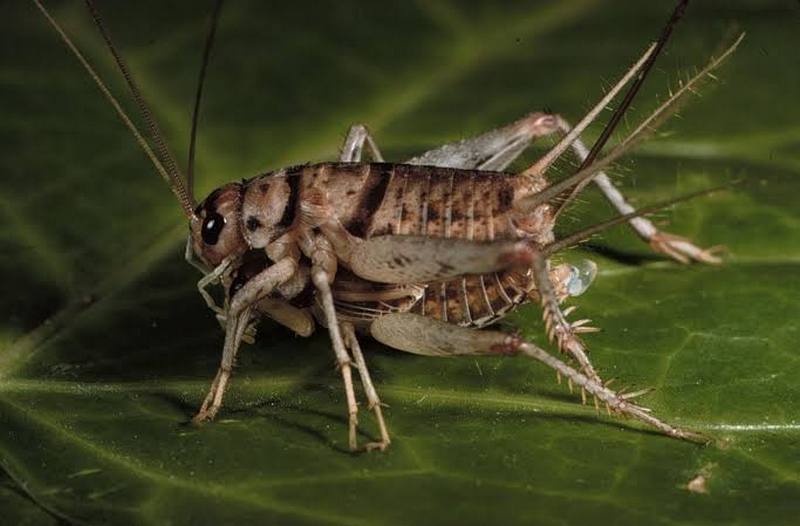
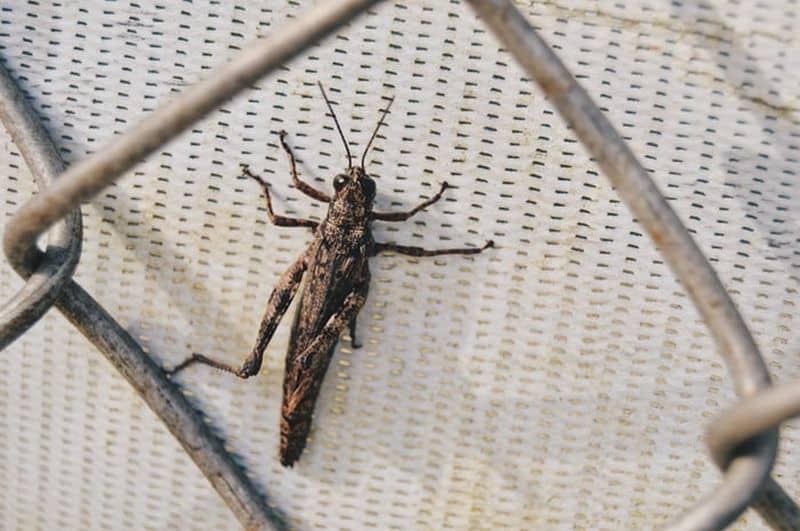
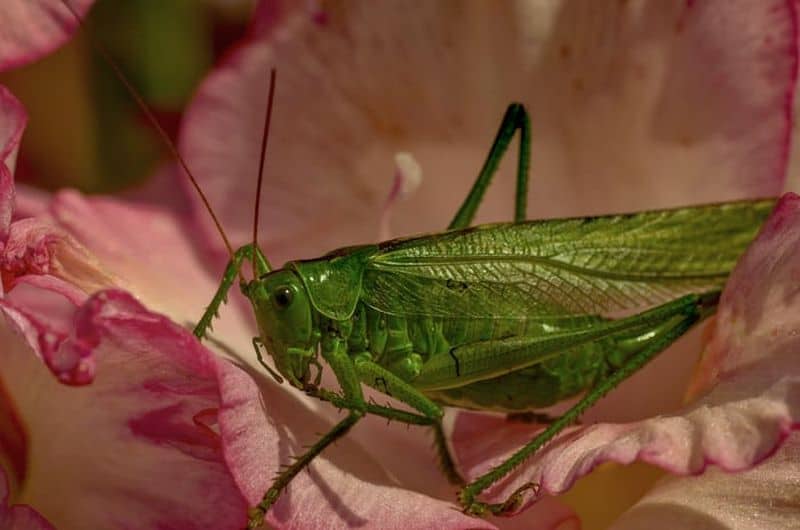
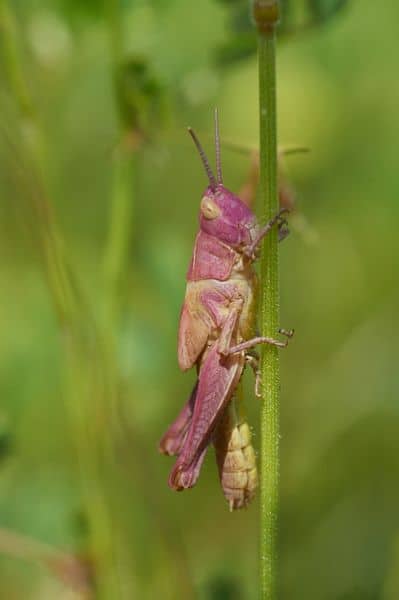
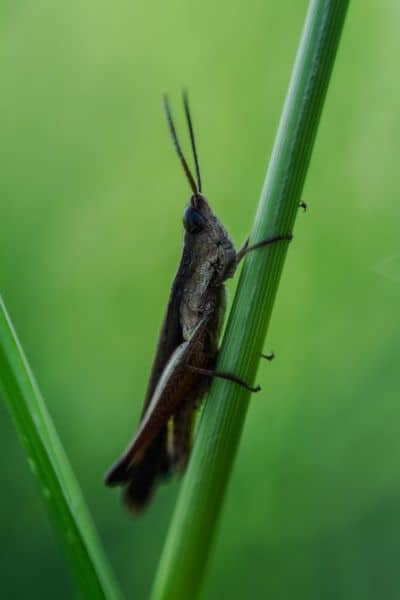
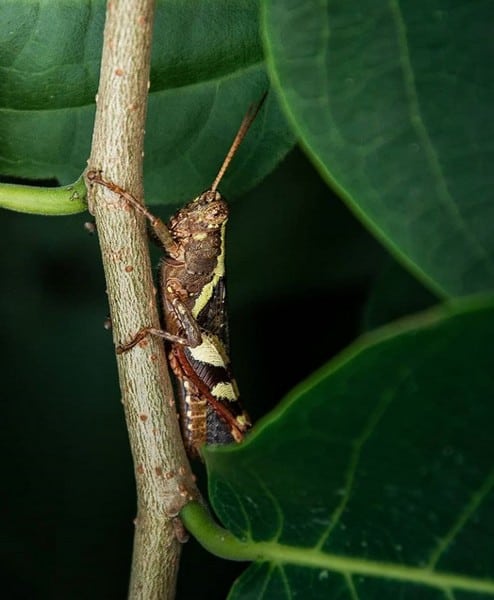
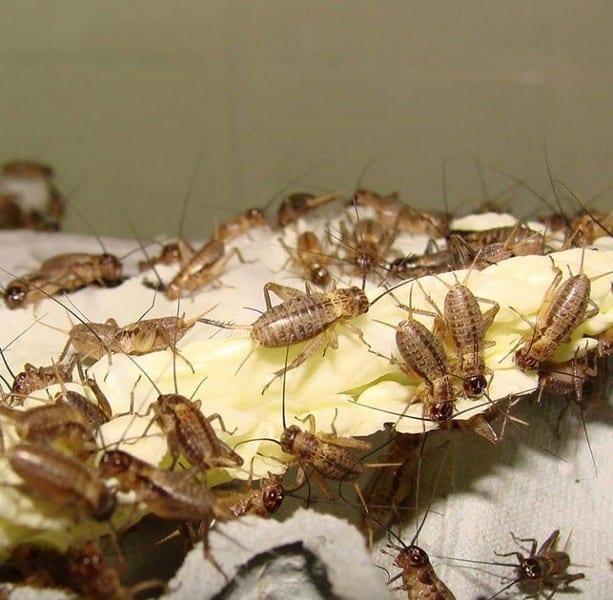
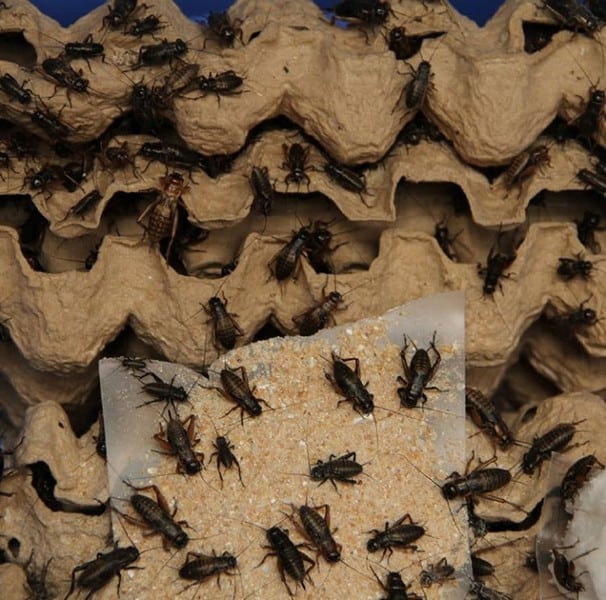
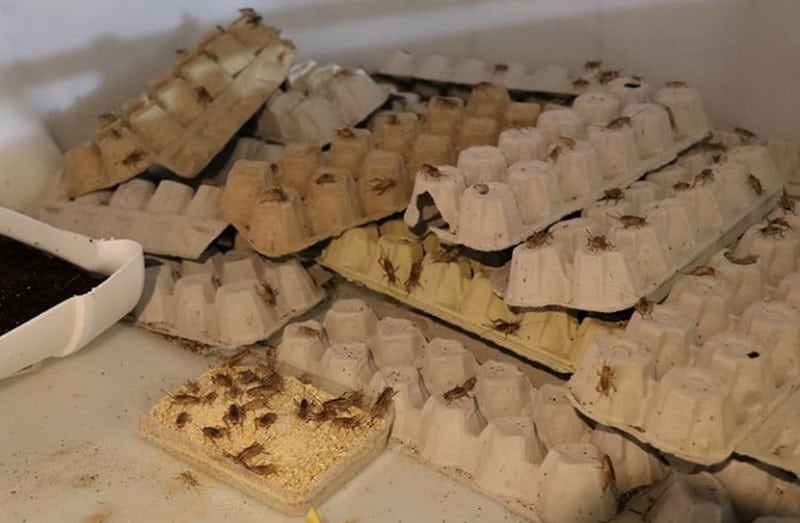
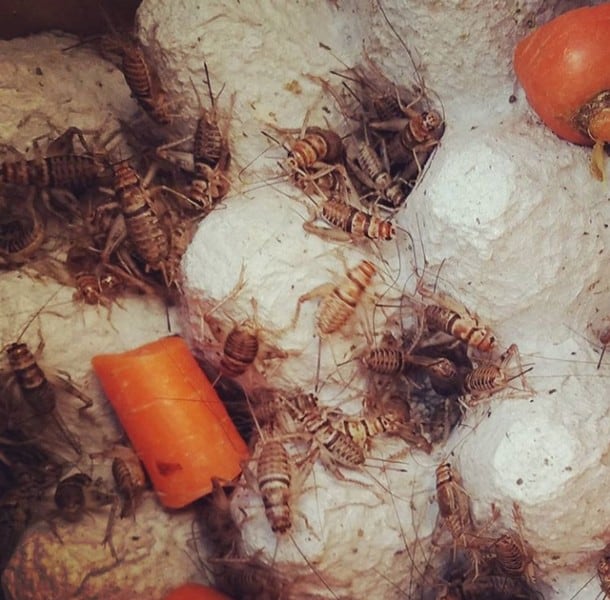
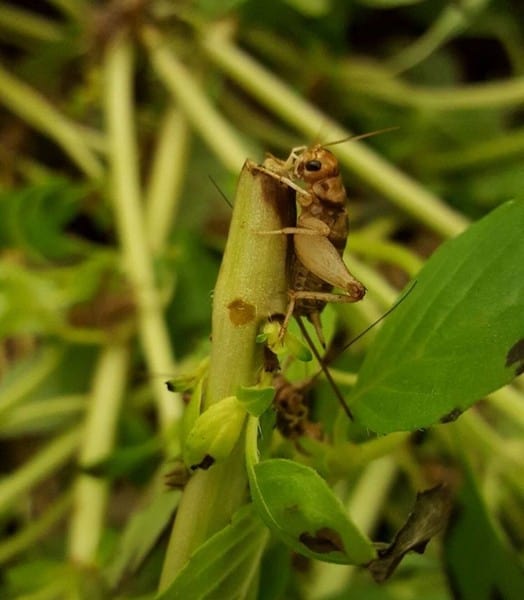
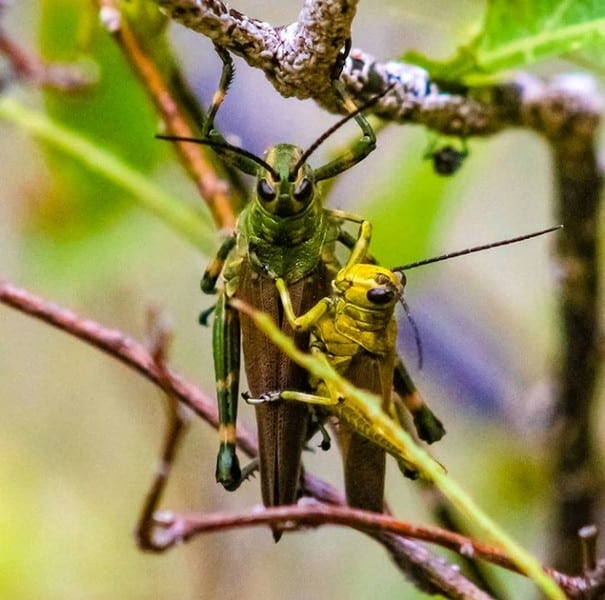
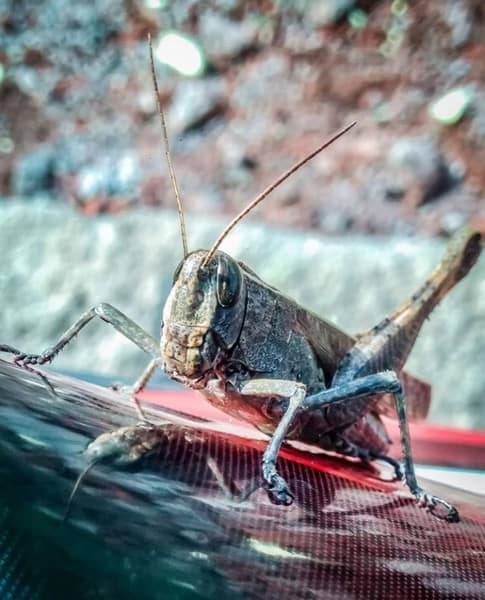
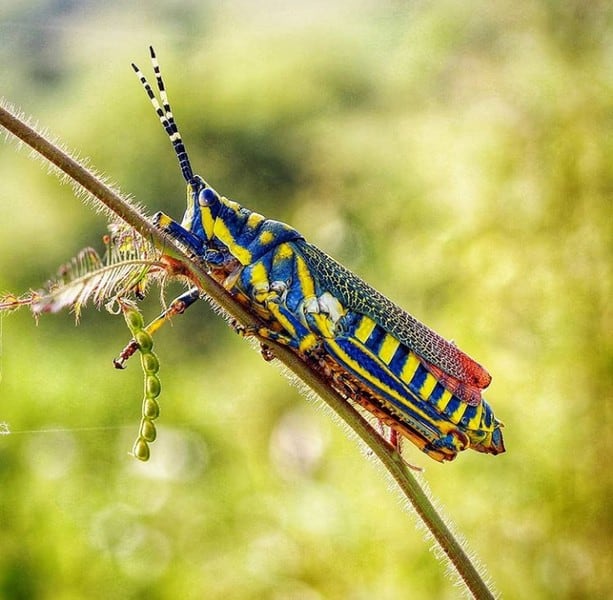
Photo Gallery of Raising Crickets


Check my post on raising backyard chickens.