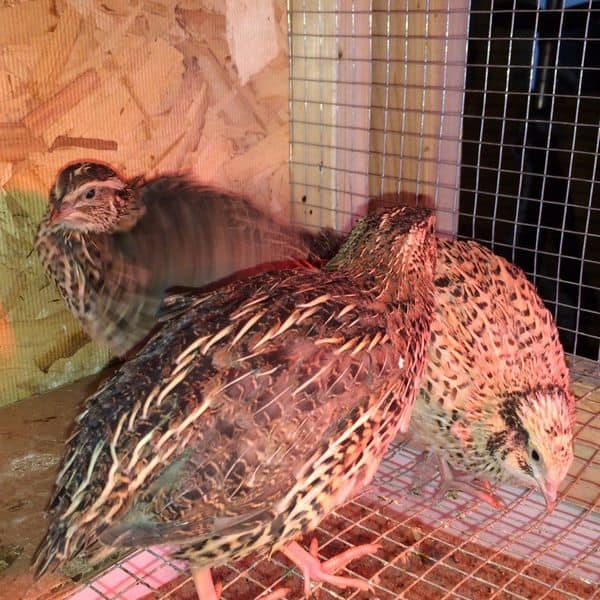
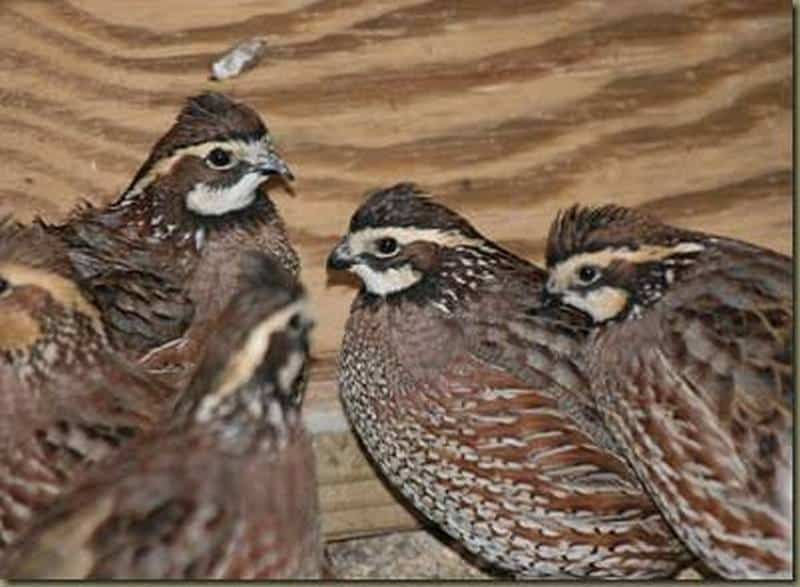
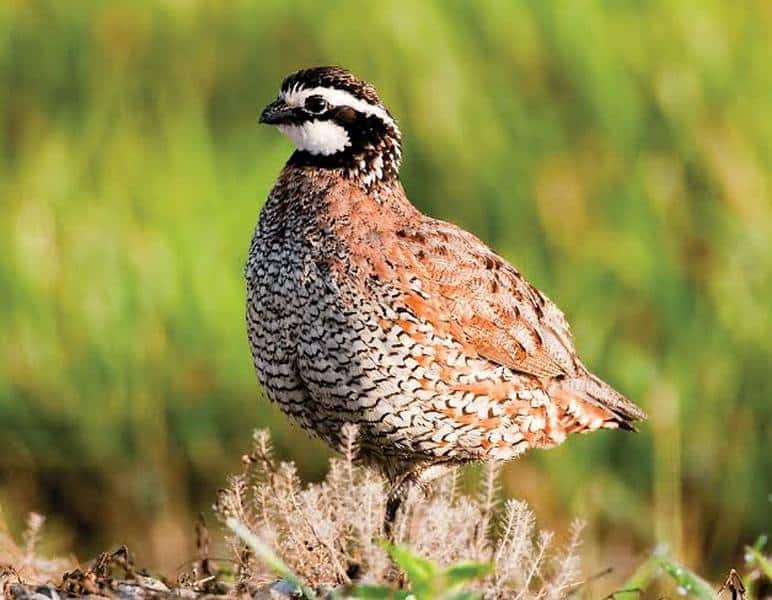
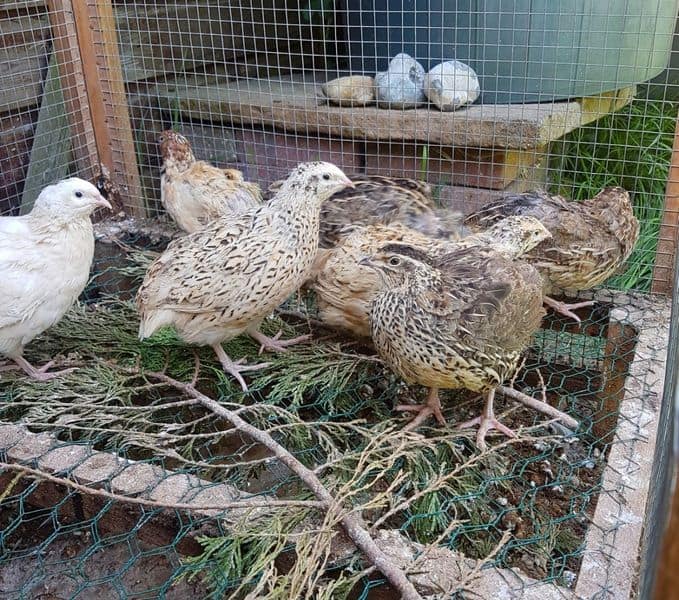
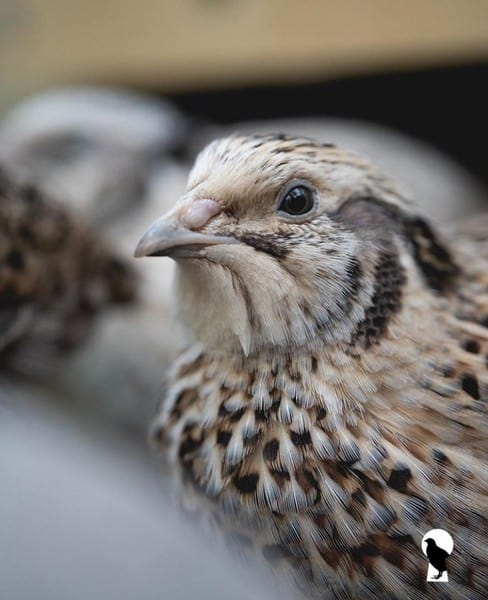
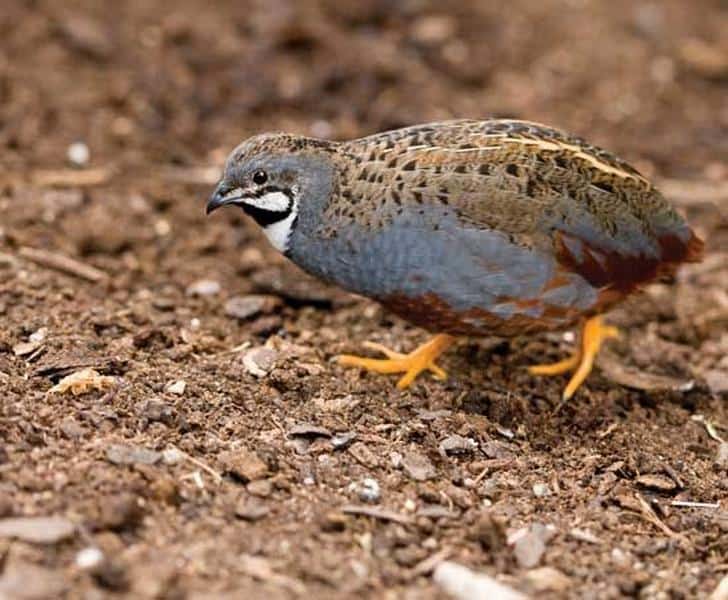
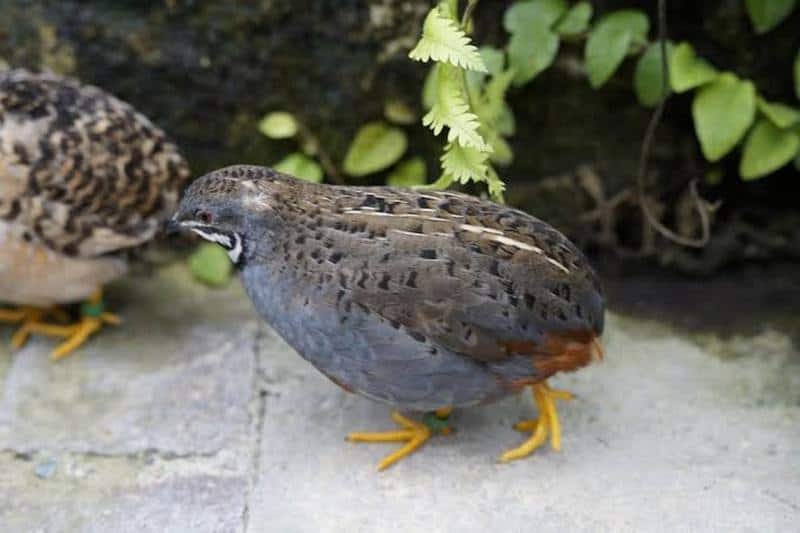
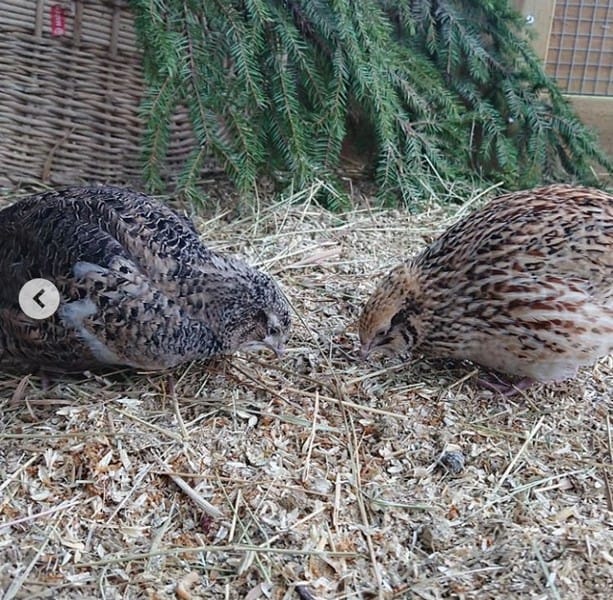
Quails are a species of birds belonging to the Pheasant family that originated from North America. They are generally wild birds, but can be domesticated. In fact, there are more people raising quails for meat nowadays, even in backyard farm.
Quail meat is quite tasty and highly nutritious. It is even tender, has a nice smell and is a juicier alternative to chicken. Quails are small birds, take up less space and are not noisy, compared to chicken, turkeys and guinea fowls, which makes them the perfect birds to raise in your backyard.
If you, therefore, want to enjoy regular, tasty meals garnished with quail meat, you can follow the tips listed below on ways to raising quails for meat in your backyard.
1. Set up the brooder for chicks
Before you go ahead to purchase quail chicks, it’s essential for you to set up a brooder for them. You can either purchase or, if you have enough woodworking skills, construct a DIY brooder yourself. Ideally, a brooder should provide 1 square foot of space for every chick.
Make sure the temperature is adequate. Quail chicks require heat till they grow feathers and a temperature of 95 Fahrenheit is appropriate.
Station multiple feed and water troughs at different locations within the brooder. This way, every chick will get easy access to food and water.
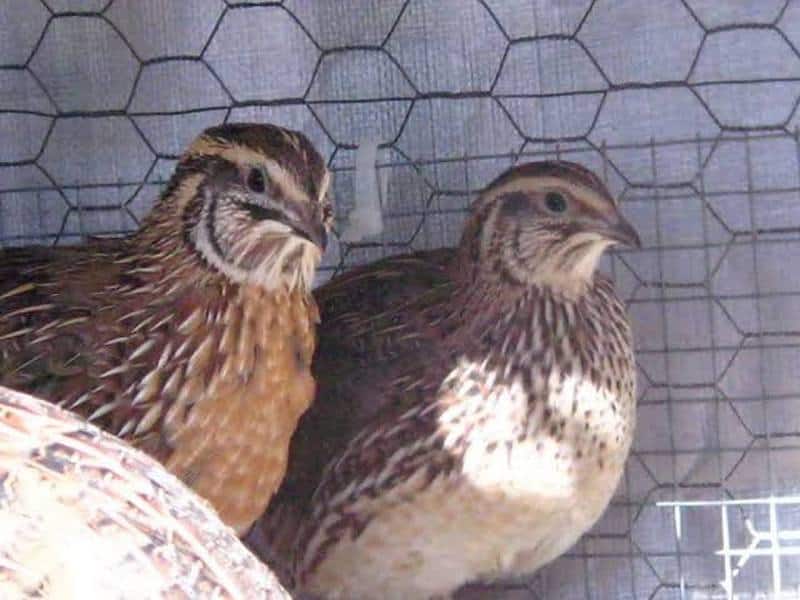
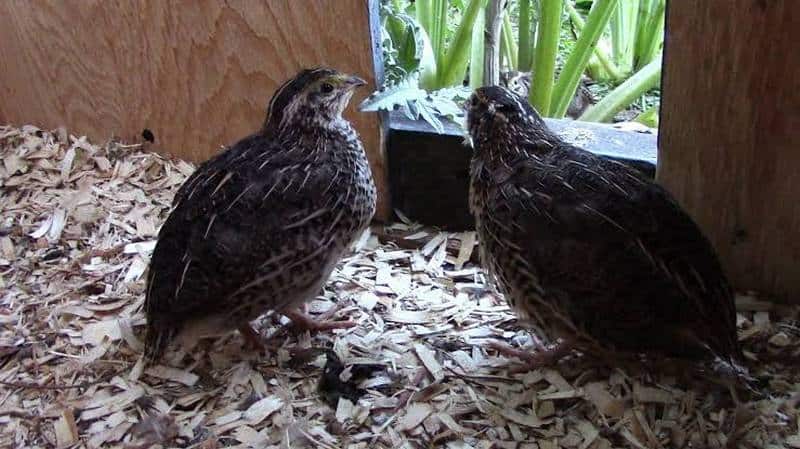
2. Buying Quail chicks
Now that your brooder is all set up and ready for chicks, get some newly-hatched chicks to fill in that space. Note that, quails are more fragile than chicken, hence you should take care when transporting them.
Alternatively, you can purchase fertilised quail eggs to start your meat farm. You will need a forced or still-air incubator to hatch the eggs. The eggs should be kept in the incubator immediately upon arrival. Quail eggs have an incubation period of 17 days.

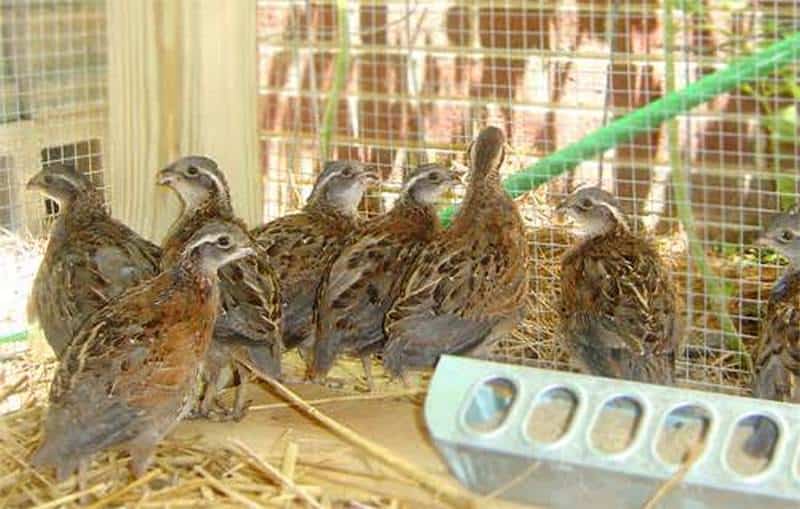
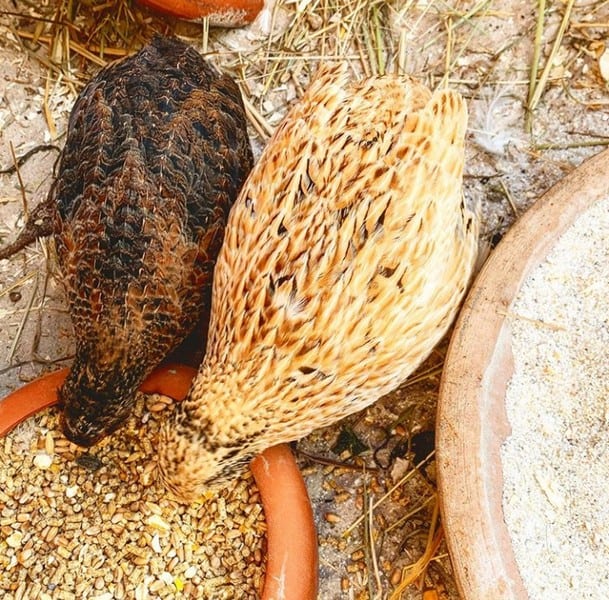
3. Feeding
For meat-producing quails, you will require a finishing feed that is rich in protein and is specially formulated for meat birds. You might be tempted to feed your quails with chicken feed, but you should understand that these do not contain the vitamins, nutrients and minerals necessary for the survival of a quail.
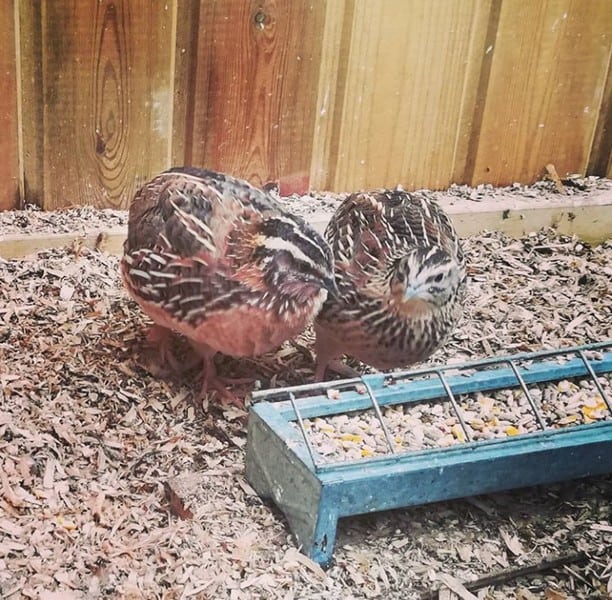
Feed your quail chicks starter feed for the first eight weeks, then switch to grower/finisher feed formulated for meat quail.
Grower feed is rich in protein and contains promotes a healthy growth rate without the production of excessive fat. Occasionally, supplement their feed with greens and grass.
Clean, fresh water is highly important and should be provided on a daily basis.
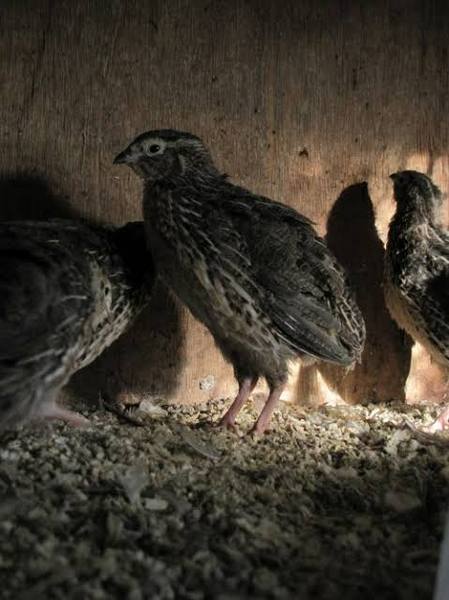
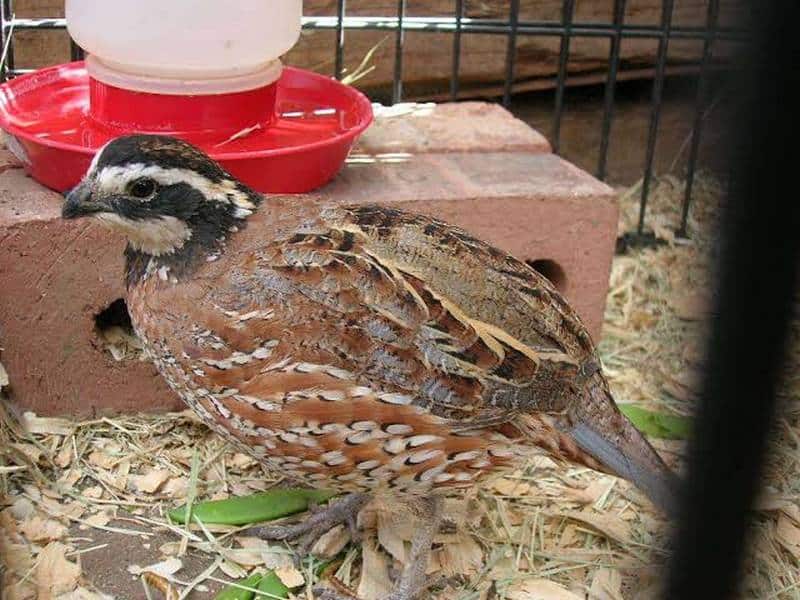
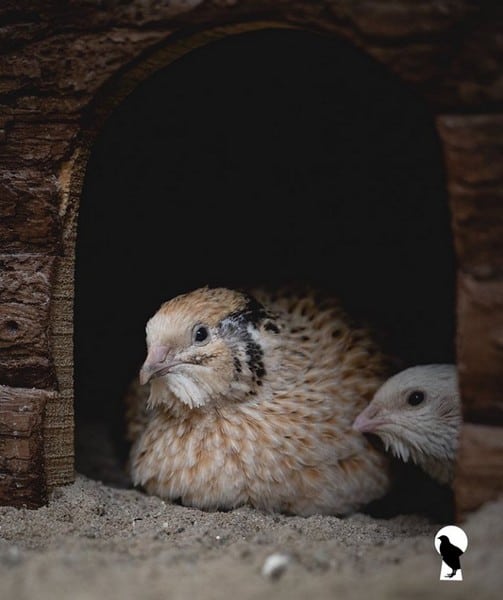
4. Housing
Once your chicks are mature enough, move them out of the brooder into pens. Quails do not require elaborate structures, but make sure the pen is large enough to contain them – do not make it too big as frequent movement might cause them to lose muscle mass. Ensure proper ventilation in your pen. You can do a similar to our DIY chicken coop guide.
One trick you can apply is to locate your pen in darkly lit areas. This creates a false impression of night-time to the birds, hence they won’t be as active most times, therefore, leading to quick gains in weight.
5. Health
Quails are tough, little birds and hardly get sick. To ensure things remain that way, maintain proper hygiene in their pens. Don’t let them live in their own waste and scrub feeders and drinkers on a weekly basis.