Hydroponics is a process of growing plants based on water nutrient solution. In this method, you do not use soil because the root system is sustained through the use of a medium like Rockwool, peat moss, perlite, vermiculite, or clay pellets. The axiom behind Hydroponics is to let the roots of the plants have direct contact with the nutrient solution while having access to oxygen, which is necessary for proper growth. Below are some tips on starting a DIY hydroponic farming.
Identify the location
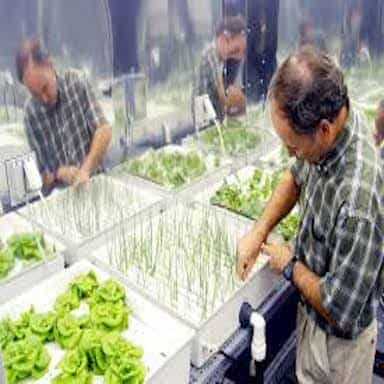
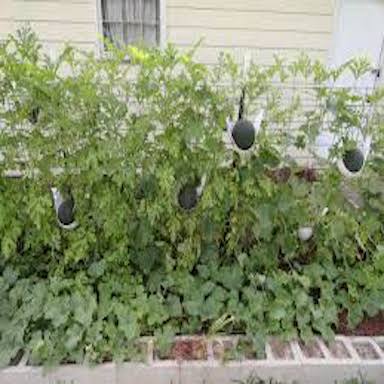
Put the Hydroponic System in an enclosed structure like the basement, a greenhouse, a patio, or a deck. Ensure that there are enough water nutrients by placing on the floor level. If you put the Hydroponic System outdoor, make sure to protect the system against other elements.
Provide a barrier for the wind and check the water level often. When the temperature is cold, put your hydroponic system inside. If you place this in the interior room of the house, put lights to supplement light to the plants.


Build the Hydroponic System
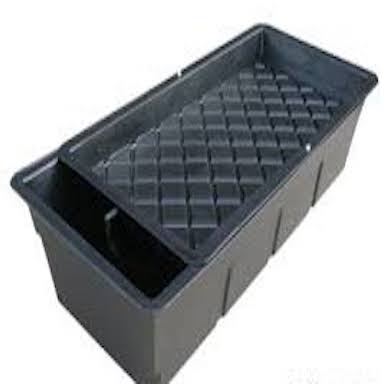
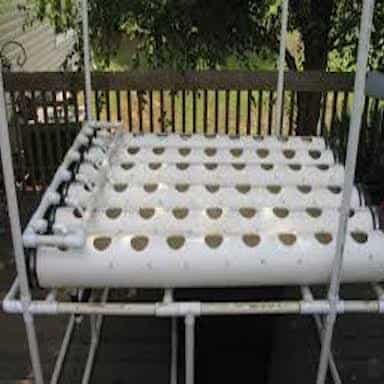
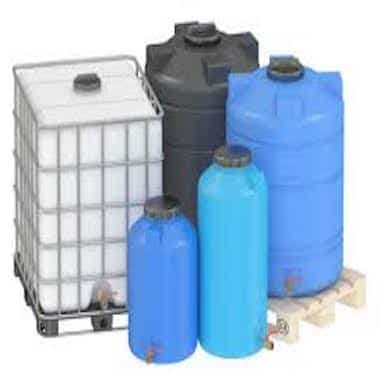
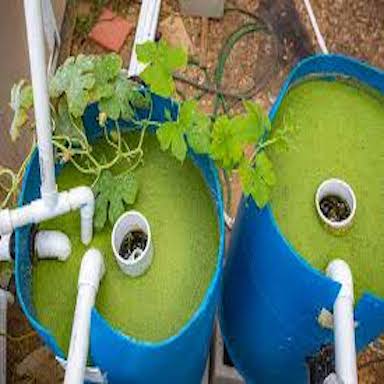
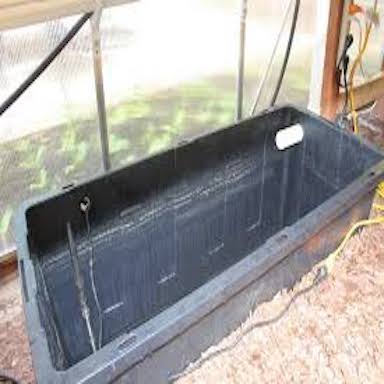
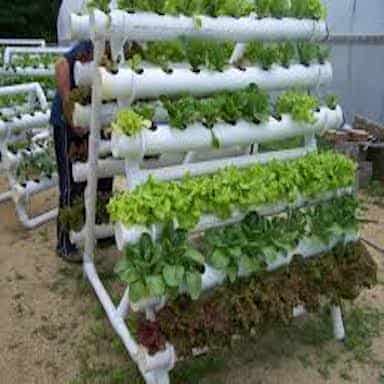
Hydroponic System has six growing tubes, which are made of a six inches PVC pipe, trellis or stand, 50-gallon of the nutrient tank, and manifold PVC small pipe and pump. Put the tank underneath the six inches growing tubes.
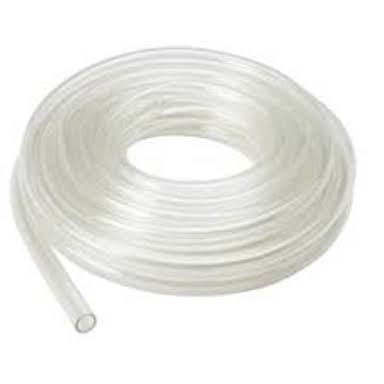
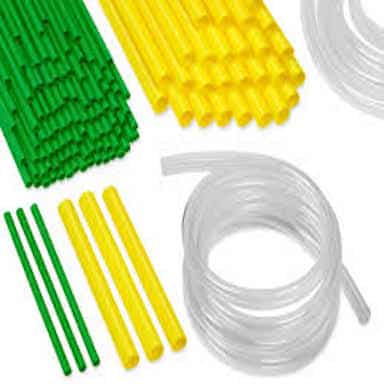
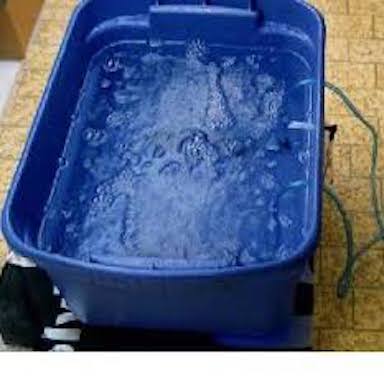
The pump should be inside the container to push the nutrients up to the plants using a manifold of PVC pipes and plastic tubes. Every growing vessel should have a drainpipe that will lead back to the tank. For the plants to absorb nutrients, the water is pushed through the square PVC and get shots at the small plastic tubes that run in each of the large growing tubes.
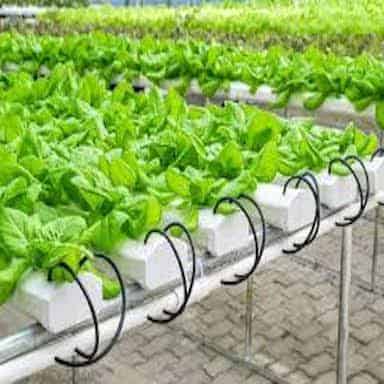
The tubes for the nutrients have holes -one in between the plant site. The nutrients snipe out the holes and spray it to the plant roots. Similarly, the jet water makes an air bubble so that the plants will get enough oxygen.

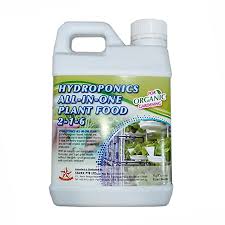
Mix all the nutrients with water inside the tank
Put a 50-gallon of water in a tank then add two cups of nutrients depending on the recommended fertilizer label. Turn the pump on and let the Hydroponic System run for 30 minutes to make sure that the nutrients are thoroughly mixed with water.
Add a plant to the tube
Purchase seedlings if you don’t have enough time to grow the seeds. Choose a healthy plant and remove the soil. Wash the dirt from the roots and submerge them to a bucket. Remember that water that is too cold nor too warm is bad for the plants.
Afterward, separate the roots gently from the water to remove the soil. There should be no more soil left because it can clog the tiny spray hole at the nutrient tubes. Pull the roots as much as you can at the bottom of the cup you will use for planting. Use expanded clay pebbles that will hold the plant in its place and going upright.
Tie your plants at the trellis
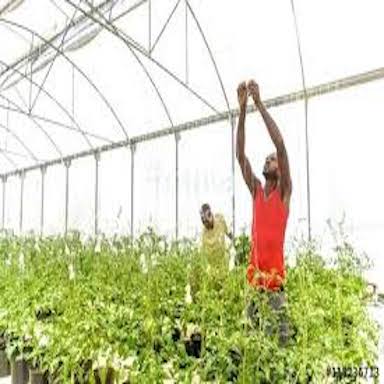
When your plants started to grow, you need to provide support to the plant. It would be best if you tied them to the trellis. This way, the string will support the plant to climb straight to maximize the space in the confined area.
Then, tie the string to the top of the trellis but not too tight. Attach the string and the clips to the base of the plant and wind the tip of the plants across the string.


Check the Hydroponic System Every Day
Always check the levels of the water. You can do it twice every day, depending on how much water gets loss because of heat and evaporation.
Also, check the nutrients and the pH level every after a few days. The pump runs in full, so make sure that the tank does not run out of water because if it does, the pump may burn up.


Monitor the growth of the Plant
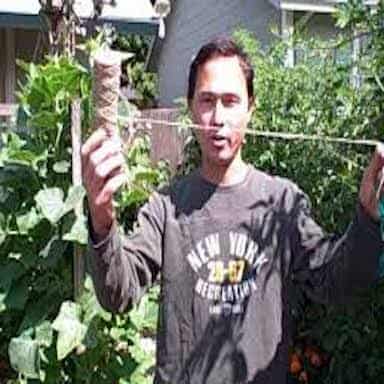
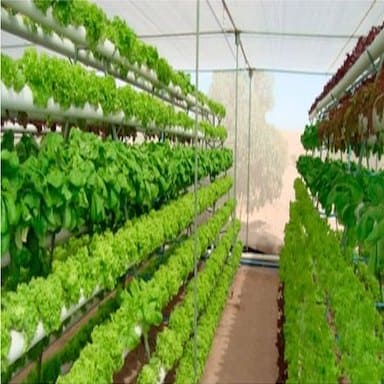
After several weeks, the plants will cover the trellis. You will have the water and the nutrients that the plants need to grow. Keep an eye to the plants and also tie the plant stalks every after several days. That’s it, you are on your way to DIY hydroponic farming.
I hope these easy to follow guide on how to make your DIY hydroponic farming will help. For more guide on sustainable farming, check out this post.